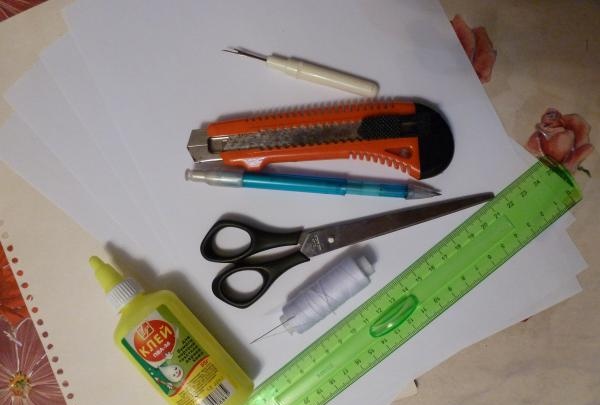
sheets of A4 paper;
a small piece of cardboard;
pencil;
ruler;
scissors;
stationery knife;
PVA glue;
needle and thread;
metal chain;
an awl or similar tool.
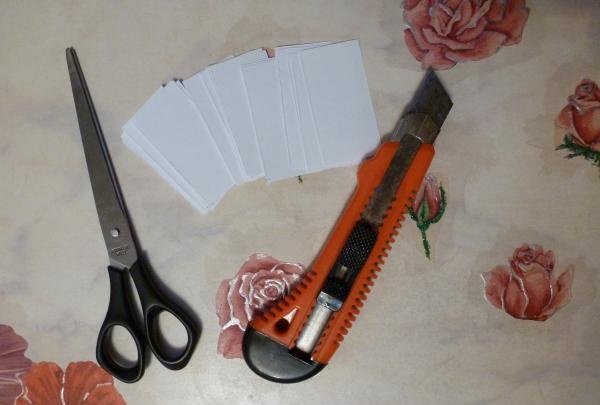
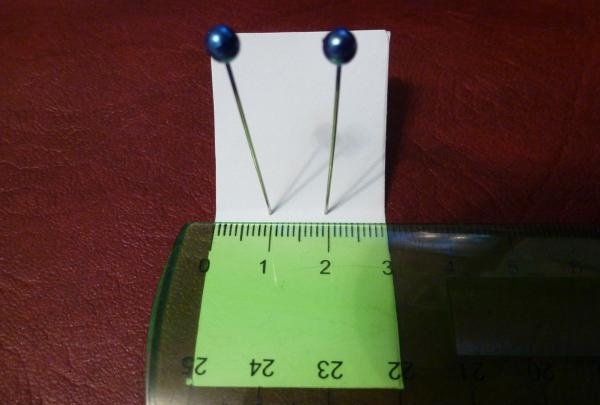
The first step is to prepare the paper for the future content of the book, namely the pages. To do this, using a knife and scissors, chop sheets of white paper into rectangles measuring 3 by 6 centimeters.
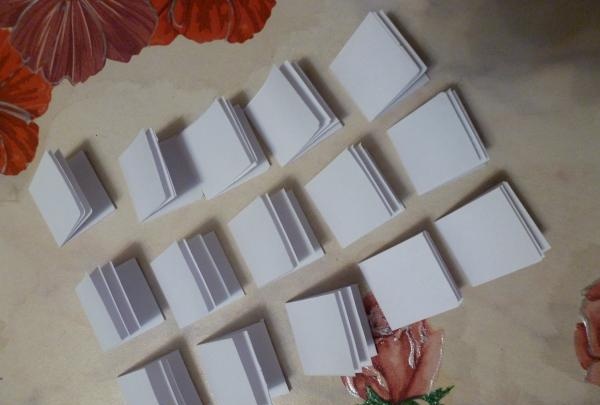
By the way, the paper does not have to be white. It all depends on the page colors you choose. We fold the resulting leaves in half so that we get double pages 3 by 3 centimeters. We group them into small books of three.
Now on the fold of each pack we make holes at an equal distance from each other.
I did this procedure in two stages so that the pages did not move.
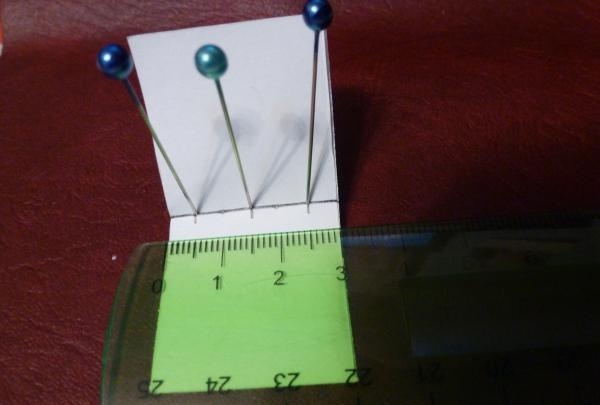
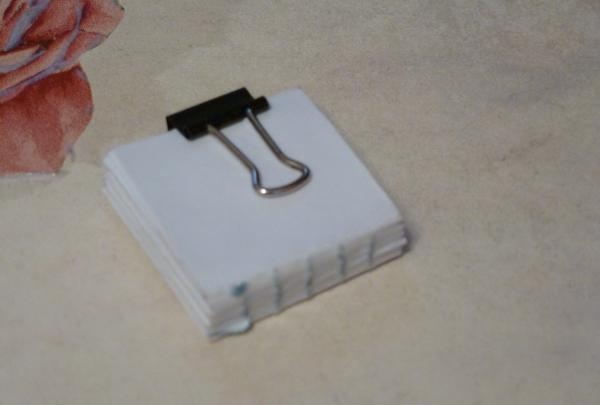
In total, I decided to stop at 5. Next, using a regular needle and thread, we tie our miniature books together with Coptic binding.
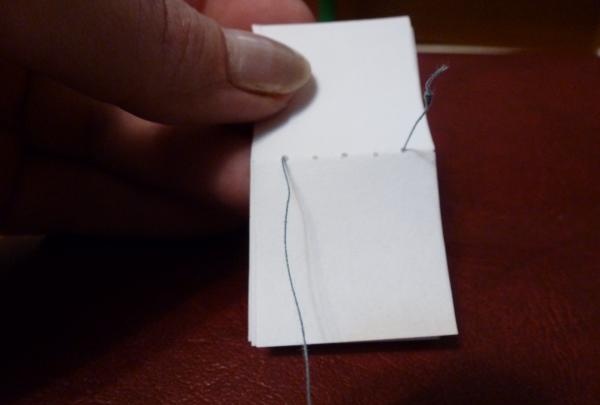
If you know of any other binding option, you can use it. The end result is something like this.
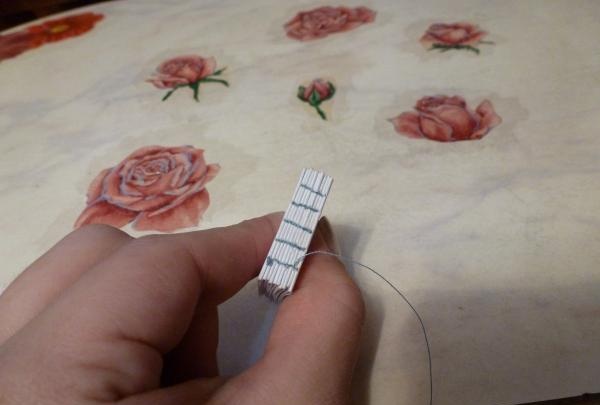
The final step is to thoroughly coat the resulting spine with PVA glue and let it dry under pressure.
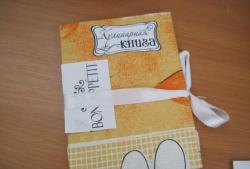
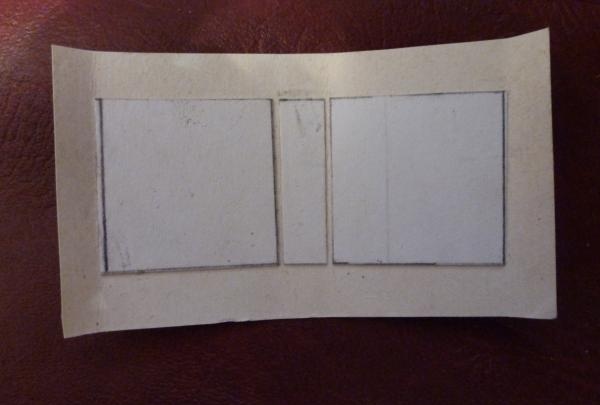
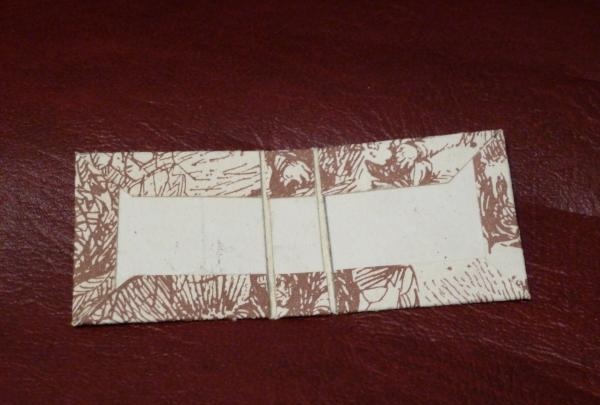
While our future book is drying, we can start working on its cover. To make it, I used regular cardboard and a small piece of printed paper. To begin with, we cut out two pieces of cardboard that correspond to the size of the pages, and one that matches the parameters of the spine.
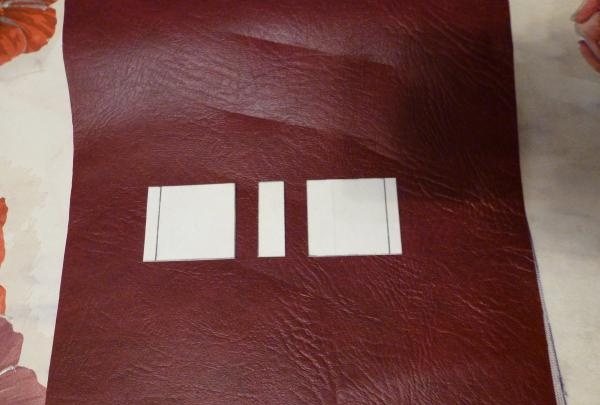
Using PVA, we glue them onto the beautiful paper chosen for the cover, leaving gaps.
Then we make these cuts on the paper.
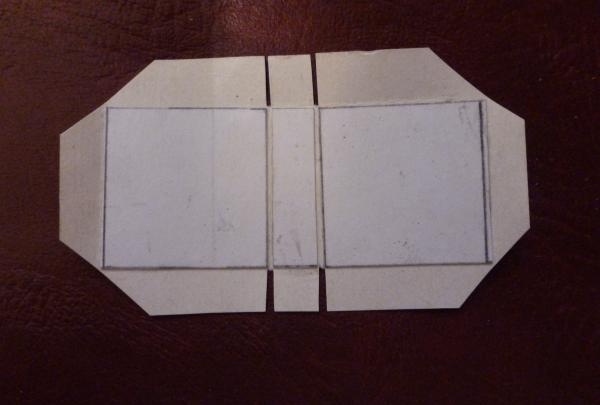
Now, fold in the remaining edges and glue.
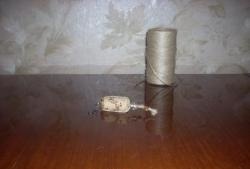
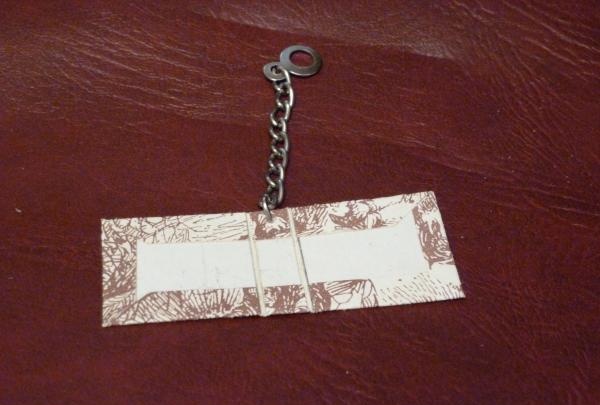
In the part of the spine that will be at the top of the book, use any sharp object (I used a tool from a sewing machine to cut threads) to make a small hole and attach the chain.
The most crucial moment is coming. Putting the cover and book together. To do this, glue the spine of the book to the space provided for it on the cover. For better fastening, we also glue the outer pages to the cover.
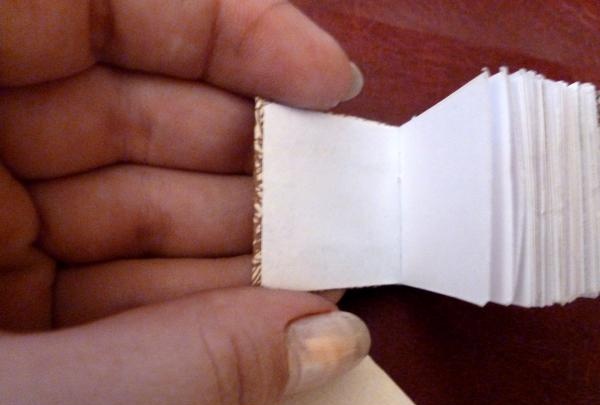
This also solves the problem of open joints of paper intended for the cover. This is the beauty I got.
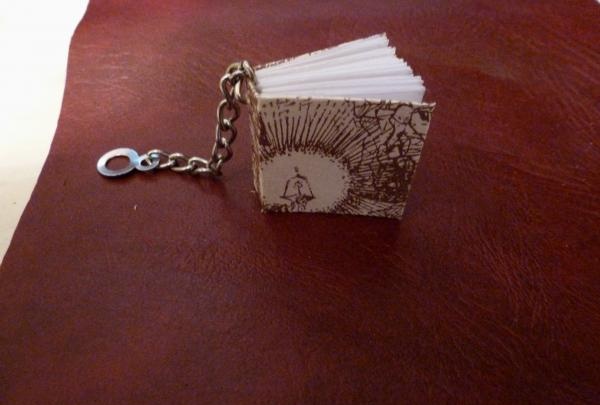
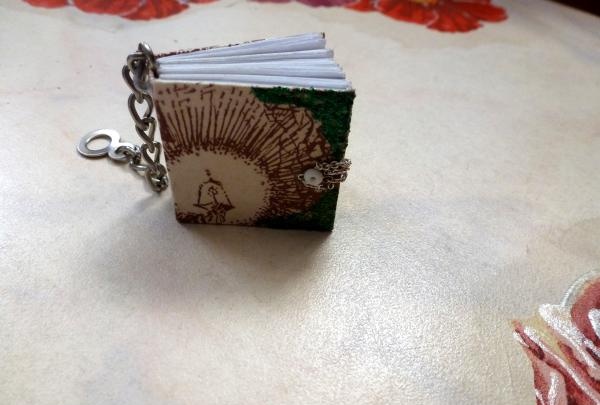
Since I chose plain paper for the cover, which can wear out over time, I coated it directly on top with PVA glue.When dry, this glue becomes transparent.

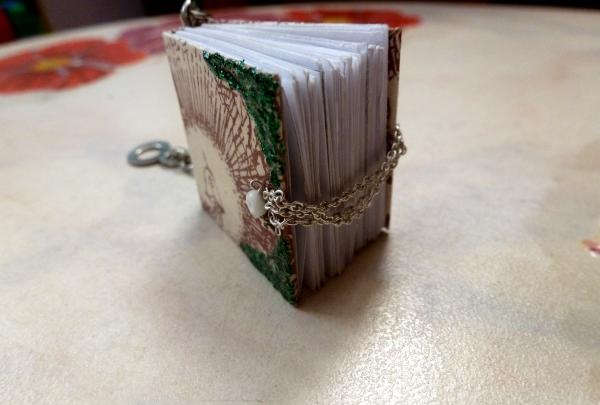
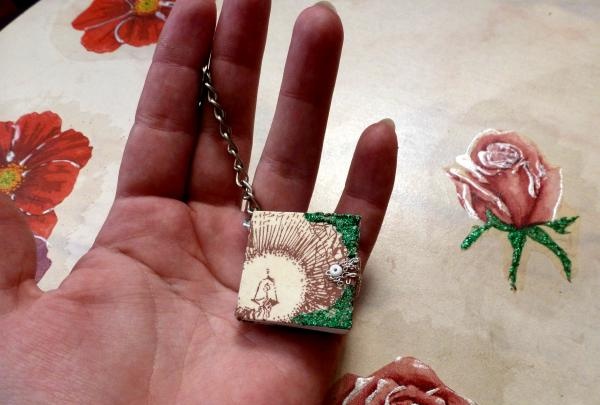
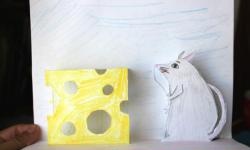
Let's start with the decor. I decided to decorate the edges of my book with a three-dimensional green outline. (photo 17) To prevent the book from constantly opening, I glued pieces of a metal chain to its crusts. Naturally, for this action I did not use PVA and superglue. (Photo 18) This beauty now flaunts on my keys.