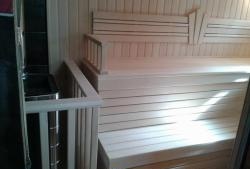
The walls are covered with sheets of moisture-resistant gypsum fiber.
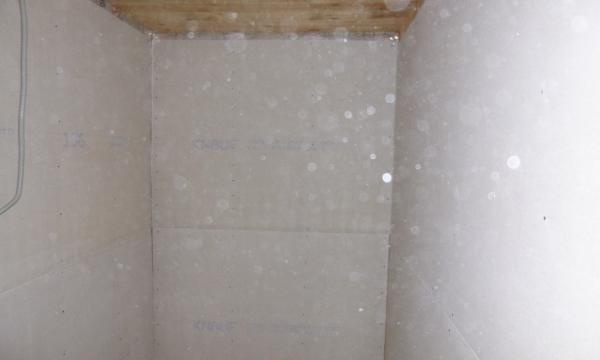
Such sheets have a thickness of 2-2.5 cm, this will serve as serious protection for the wood from moisture that will form in your bathroom.
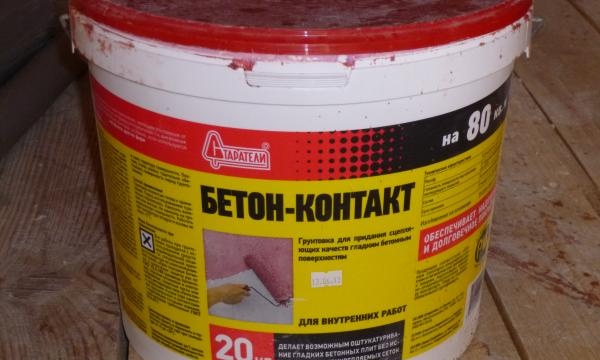
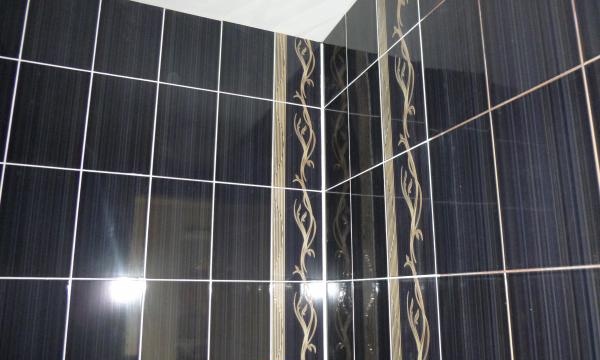
In order for the tiles to adhere perfectly to the wall and delight you with their beauty for many years, the walls are carefully treated with the Betonokontakt compound.
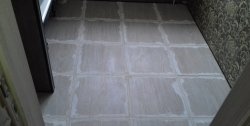
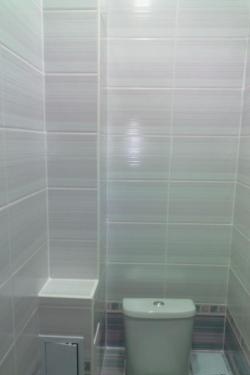
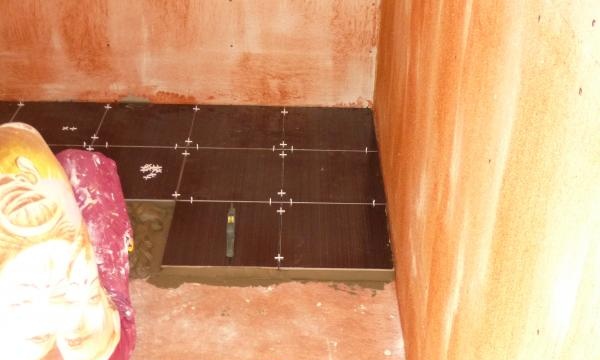
Installation of tiles begins from the floor. Floor tiles are laid in a perfectly horizontal plane; for this you need to regularly use a building level.
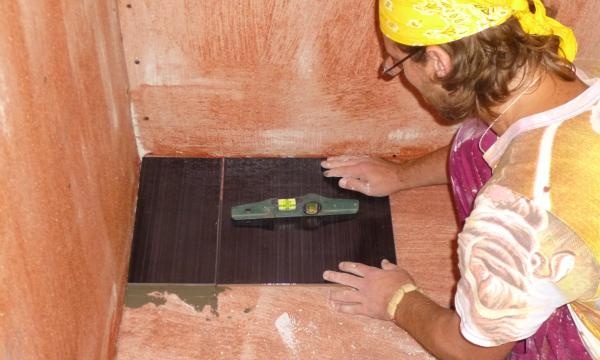
If the plane of the original floor is far from ideal, it is necessary to level it by gradually increasing the layer of glue.
Wall tiles must be glued from the bottom row, gradually moving upward.
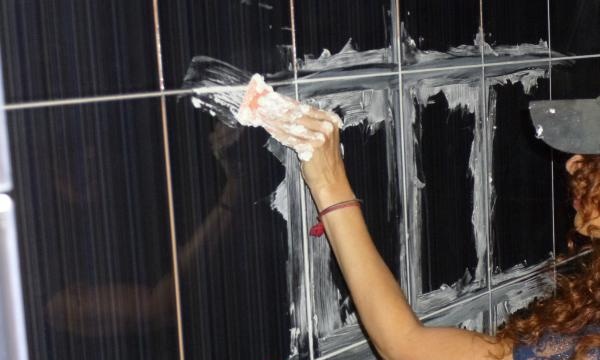
When the installation of wall tiles is completed, we begin to grout the joints. This process is carried out with a special solution for removing seams. The solution is rubbed into the tile joints using a soft rubber spatula.

You need to work with the jointing solution quite quickly, as it crystallizes and dries quite quickly. It is best to process not the entire surface at once, but small sections of it.
Excess mortar is removed from the surface of the tile with a soft, dry cloth.
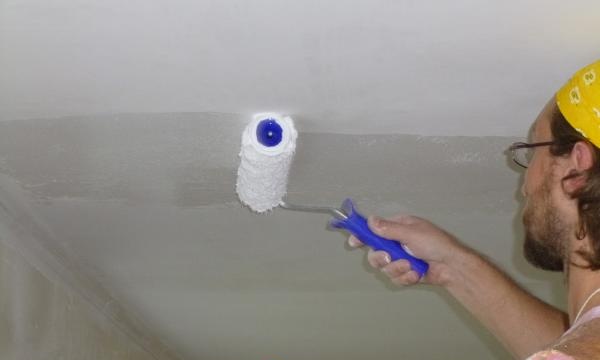
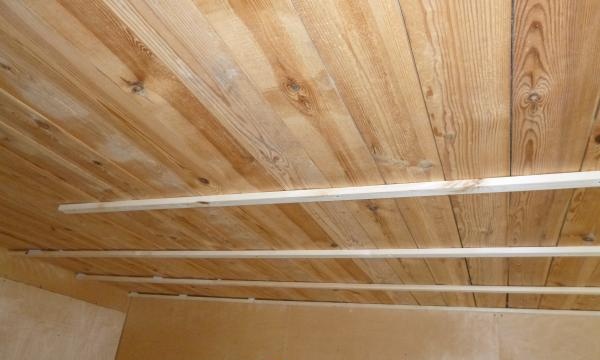
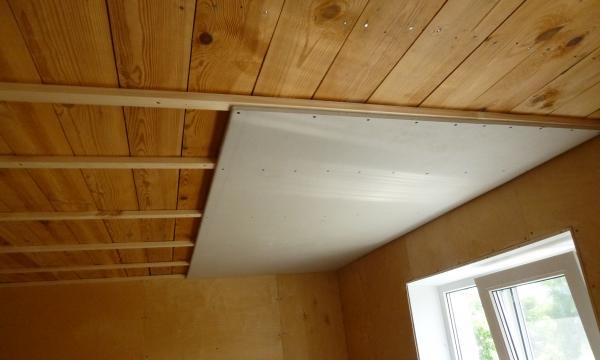
In order for the ceiling to have a flat, smooth surface, it was decided to use sheets of moisture-resistant plasterboard. To begin with, a frame of slats was mounted on the ceiling.
Then, sheets of plasterboard were hemmed to this frame.
It is not advisable to use ordinary drywall in rooms with high levels of humidity. And since it is planned to install a bathtub with hydromassage in our bathroom, it is necessary to approach the selection of all materials with special care. The drywall was treated with modern cement putty and painted in several layers of snow-white paint for wet rooms.
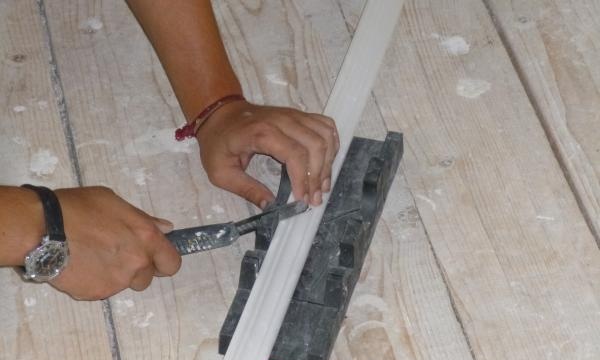
In order for the junction line between the ceiling and the wall to look clear and harmonious, a white polystyrene foam ceiling plinth was fixed along the perimeter line. This plinth is glued to any surface using regular mounting adhesive.
In order for the plinth to fit perfectly, the corners must be cut using a special miter box.
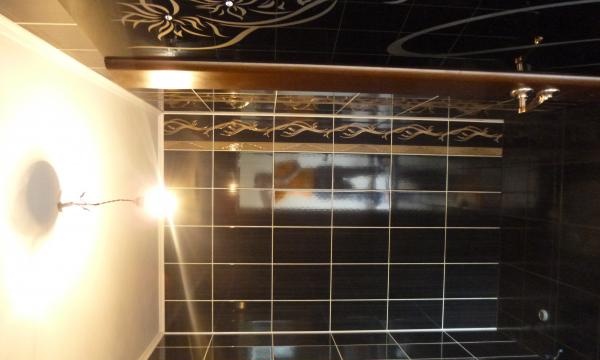
Now all that remains is to erase traces of paint and putty from the walls and floor. Our wonderful modern bathroom is ready.