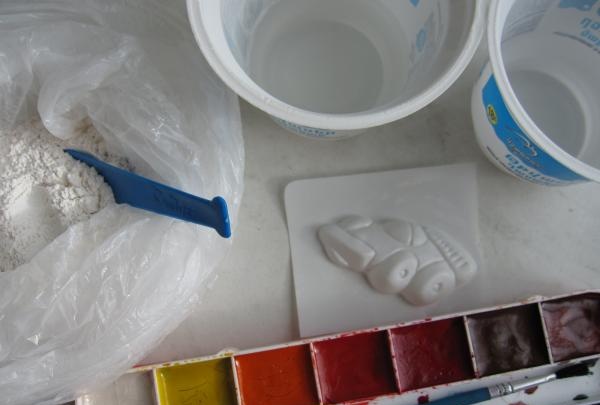
For work, prepare:
• a small handful of gypsum,
• two containers (for example, disposable cups),
• casting mold,
• paints (gouache) and brush,
• magnet,
• glue (silicone or “Moment”),
• varnish (colorless manicure or hair varnish is suitable).
Before work, cover your work area with newspaper and put on an apron. Be careful not to inhale plaster dust. Safety first! You can even cover your mouth and nose with a gauze mask.
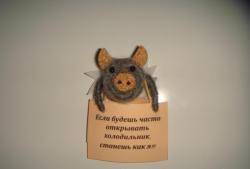
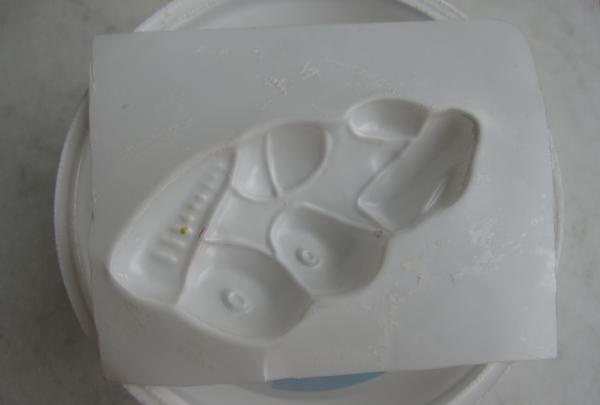
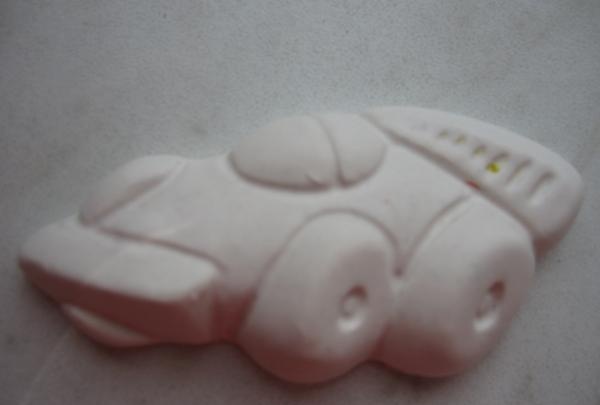
The bas-relief mold can be made of silicone or plastic. Choose an image to suit your taste. In this case, it is a car. First you need to fix the mold in a horizontal position.If it lies unevenly on the table, then simply place it on one of the cups.
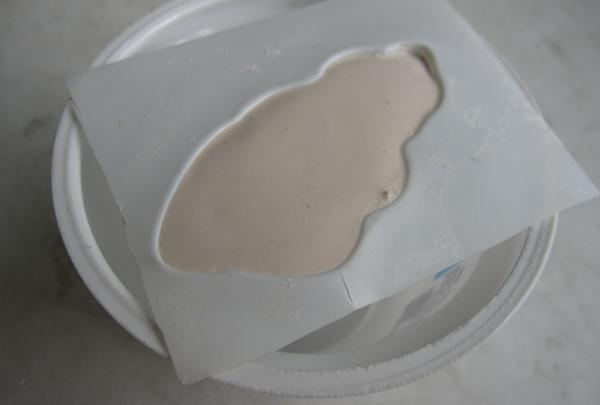
Now let's prepare the gypsum solution in the second container. Take a disposable cup or plastic container for sour cream, which you don’t mind throwing away later. Pour some water into it and, stirring constantly with a disposable spoon (throw it away later), gradually add gypsum powder. The finished solution should resemble good sour cream. If it is too thick, it may poorly fill small depressions in the mold, and if it is thin, it will result in a fragile bas-relief that will break after the first blow.

Carefully pour the resulting solution into the mold. It is better to do this with a spoon rather than pour it over the edge of the glass. To ensure that there are no voids left, gently shake the mold or stir the plaster with a toothpick. Remove excess solution and level the surface. It should turn out smooth. Please note that the plaster hardens within a few minutes, and you need to work quickly. Never pour any remaining plaster down the drain!
The workpiece should dry for a couple of hours, then carefully remove it from the mold and leave it horizontally overnight until completely hardened.
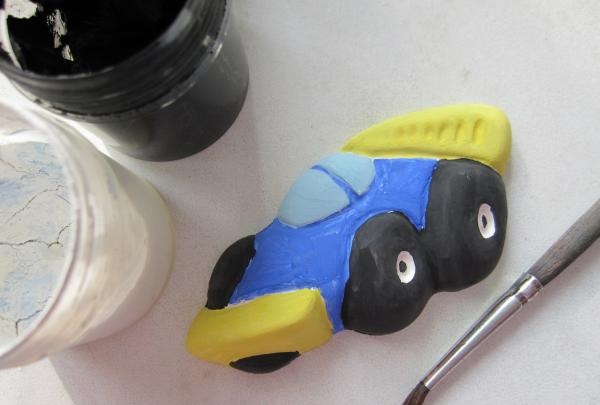
Now let's get to the fun part: coloring. Make sure that the gouache does not spread or mix while working. If the gypsum mixture has a grayish tint after hardening, then first cover the bas-relief with a layer of white gouache, let it dry and only then paint it.
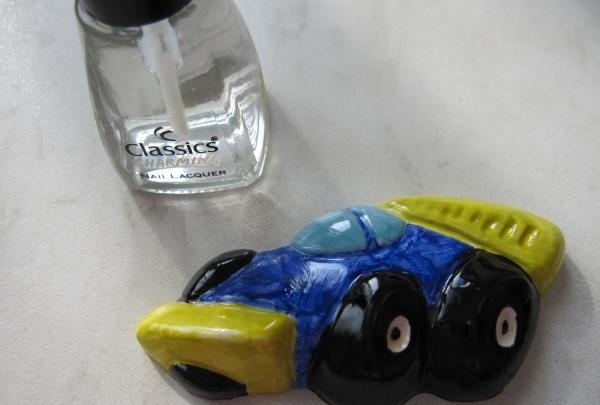
When the paint dries, you can cover the figure with colorless manicure polish or hairspray. This additional layer will make the colors brighter and more saturated, and the figure will be more durable.
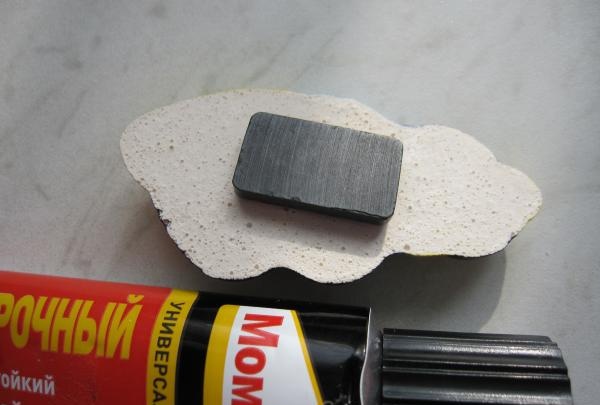
Now you can attach a small magnet or a piece of magnetic tape to the back of the figure using silicone or universal glue.
The work is done.