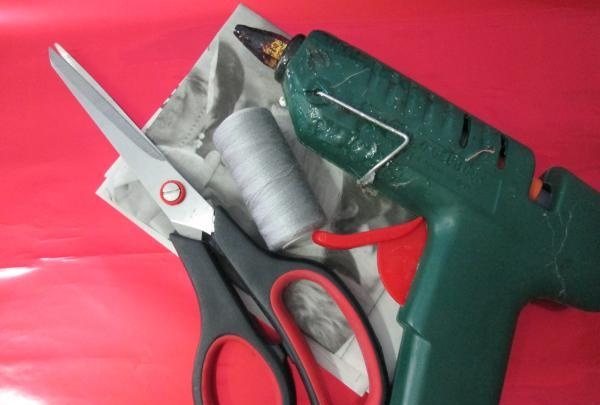
1. To make a Christmas star you will need:
• Bright red wrapping paper.
• Scissors.
• Newspaper.
• Threads.
• Glue gun.
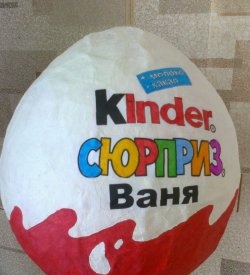
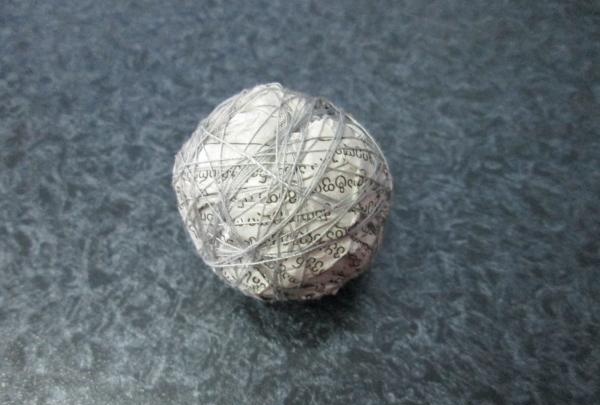
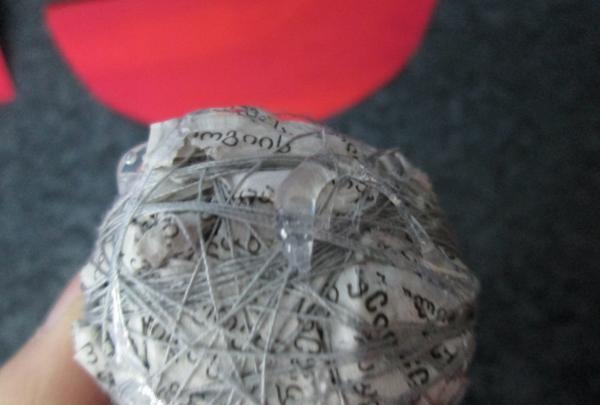
2. Prepare the base of the star. We make a ball from an old newspaper and wrap it tightly with thread.
3. Apply glue to the entire ball.
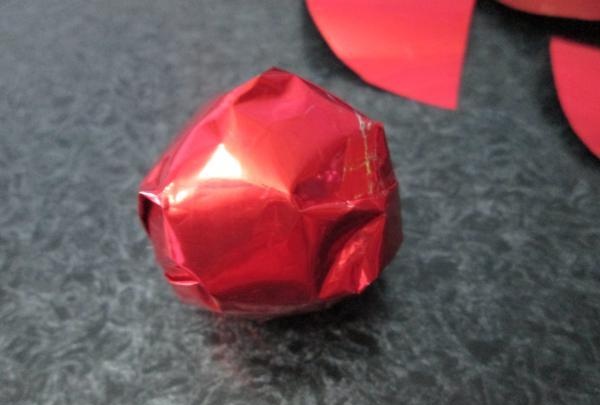
4. Cover it with wrapping paper. Do not try to fit the ball perfectly evenly; subsequently, all the unevenness and roughness will be hidden under the rays of the star.
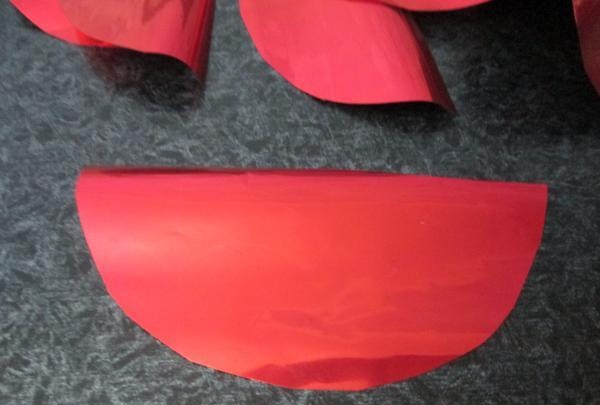
5. We proceed directly to the formation of the star’s rays. To do this, we cut 15 of these blanks, which represent a circle cut in half.
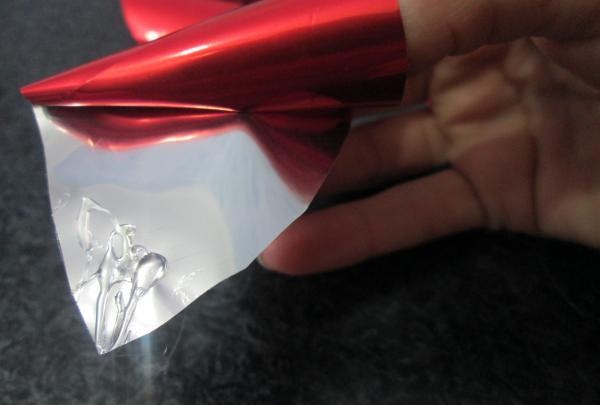
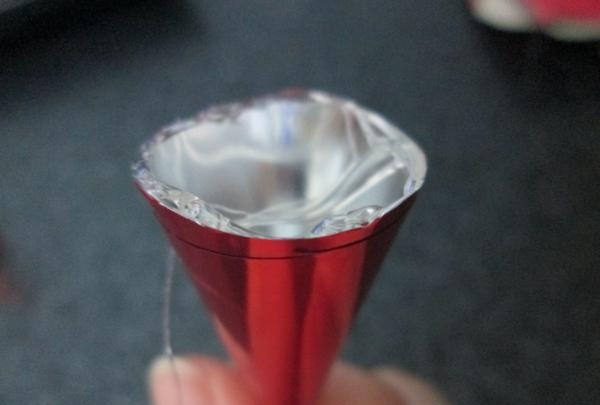
6. Apply glue from a gun to one end of the workpiece. Roll the dough tightly into a cone.
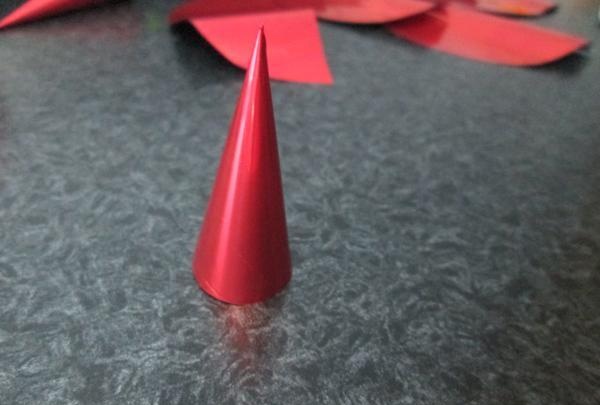
7. You get this pointed cone-ray.We repeat the procedure with all paper blanks.
8. We begin assembling the star. Apply glue along the contour of the base of the cone.
9. Glue the rays one by one onto the base.
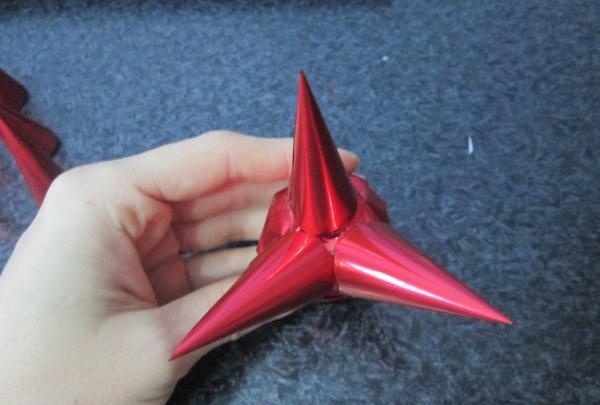
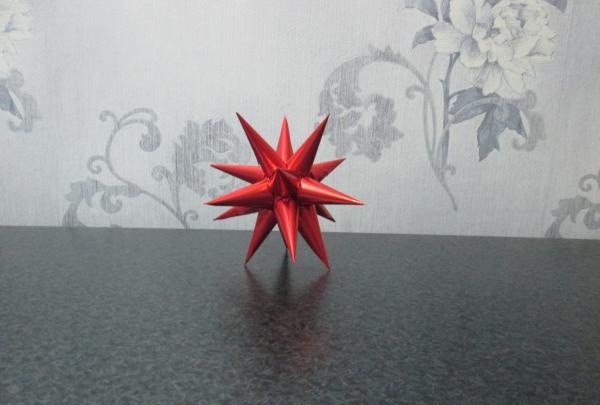
10. We try to place the rays as close to each other as possible.
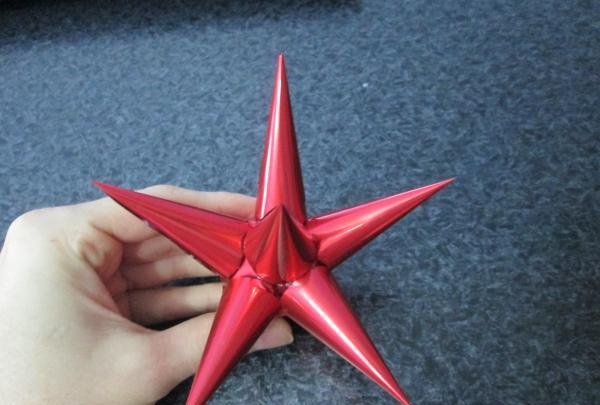
11. The star is ready. All that remains is to decorate the room with it or use it as a toy on the Christmas tree.