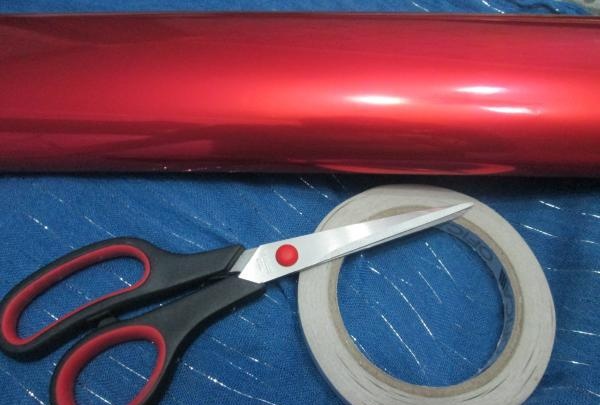
1. We will need:
• Wrapping paper. (Two-color).
• Double-sided tape.
• Scissors.
![wrapping paper scissors](https://i.washerhouse.com/images/1/1315-upakovochnaya-bumaga-nozhnicy.jpg)
2. We make these templates. A semicircle is needed to cut out identical pieces. The second is to roll the blanks into identical cones.
![templates](https://i.washerhouse.com/images/1/1316-shablony.jpg)
3. We cut out the blanks, the diameter of one such blank is 9 cm. We will need about 50 of them.
![Cutting out blanks](https://i.washerhouse.com/images/1/1317-vyrezaem-zagotovki.jpg)
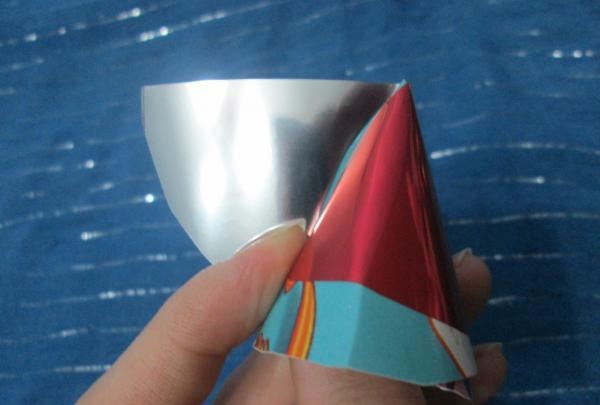
4. Place the cone template in the center of the workpiece.
![Attach the cone template](https://i.washerhouse.com/images/1/1318-prikladyvaem-shablon-konus.jpg)
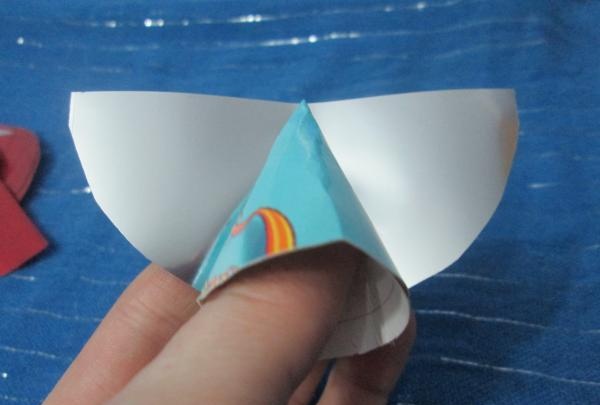
5. First we wrap one corner, and then the second corner.
![fold one corner](https://i.washerhouse.com/images/1/1319-zavorachivaem-odin-ugolok.jpg)
6. Secure with double-sided tape. Set aside without removing the protective film.
![Secure with double-sided tape](https://i.washerhouse.com/images/1/1320-fiksiruem-dvuhstoronnim-skotchem.jpg)
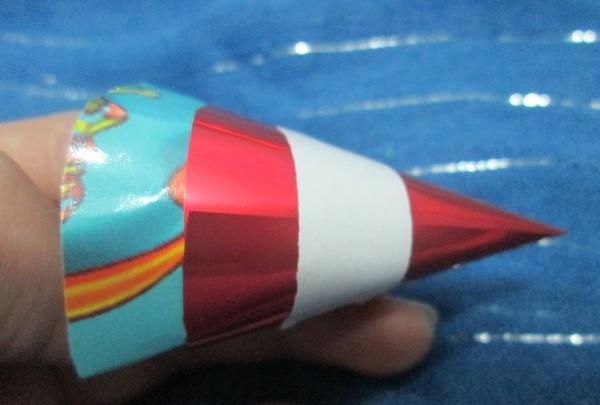
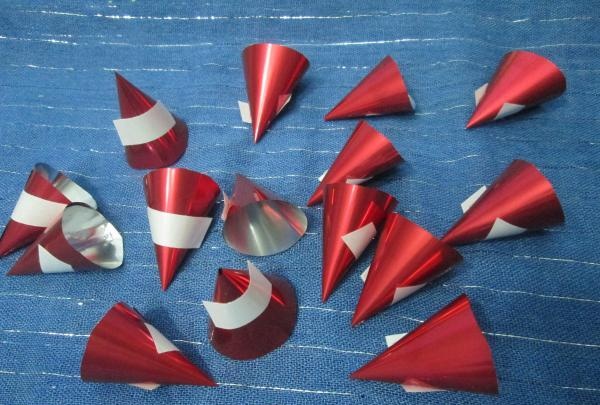
7. Thus, we make a sufficient number of cone blanks.
![we make enough](https://i.washerhouse.com/images/1/1321-delaem-dostatochnoe-kolichestvo.jpg)
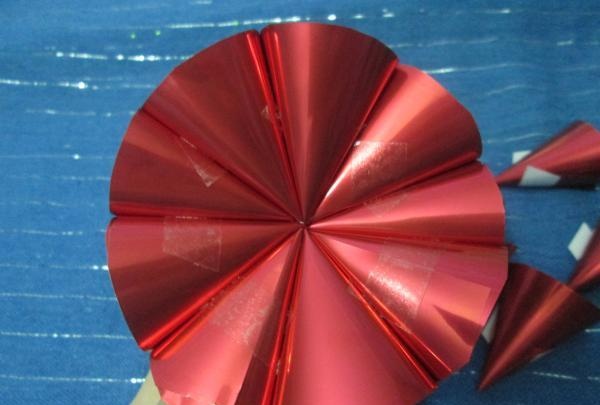
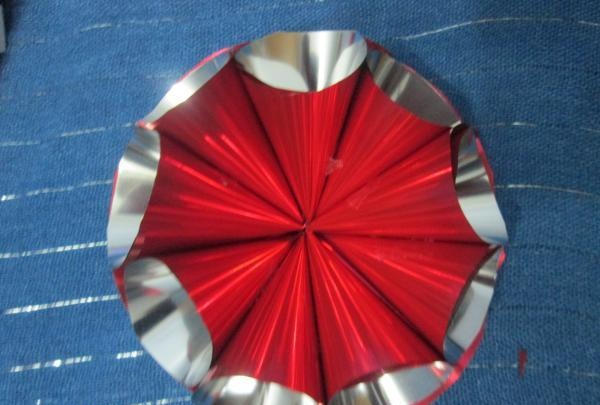
8. Remove the protective film and begin gluing the cones together.You should end up with a circle like this.
![Removing the protective film](https://i.washerhouse.com/images/1/1322-snimaem-zaschitnuyu-plenku.jpg)
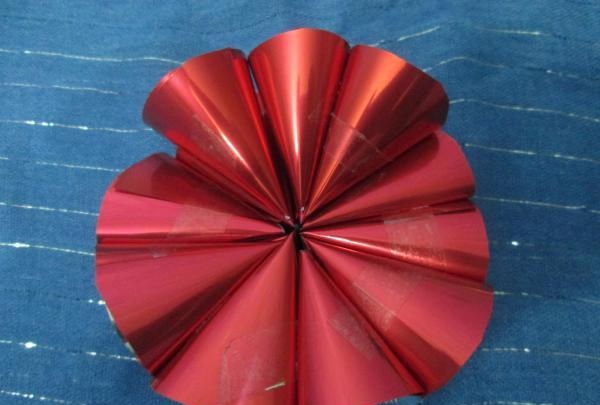
9. Place the second row of blanks on top. And continue until the empty space runs out.
![laying the second row of blanks](https://i.washerhouse.com/images/1/1323-ukladyvaem-vtoroy-ryad-zagotovok.jpg)
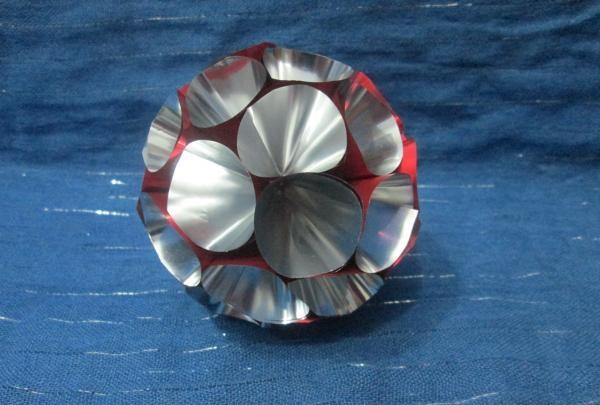
10. One half of the toy is ready.
![half of the toy is ready](https://i.washerhouse.com/images/1/1324-polovinka-igrushki-gotova.jpg)
11. Turn over half the ball and place the cones further.
![lay the cones further](https://i.washerhouse.com/images/1/1325-ukladyvaem-konusy-dalshe.jpg)
12. The Christmas tree toy is ready.
![Christmas tree toy](https://i.washerhouse.com/images/1/1326-igrushka-na-elku.jpg)