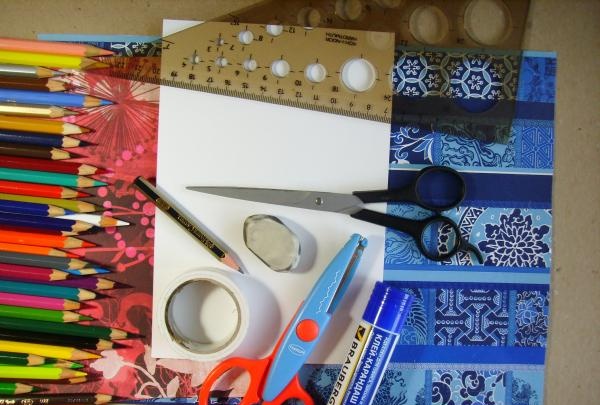
- ruler;
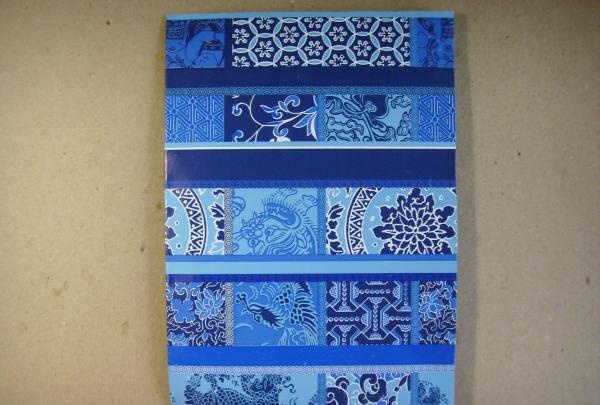
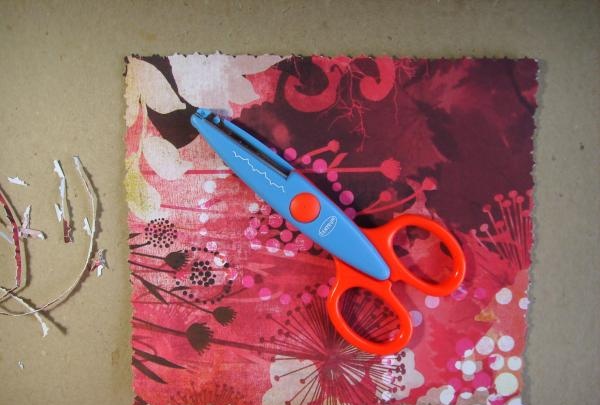
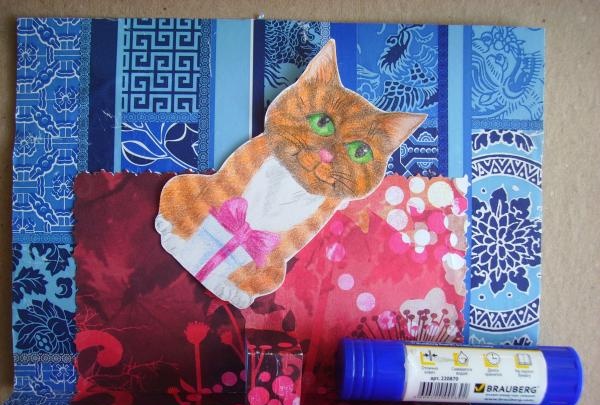
- blue and red scrapbooking paper;
- two sheets of white paper;
- double-sided tape;
- a simple pencil;
- eraser;
- colour pencils;
- glue stick;
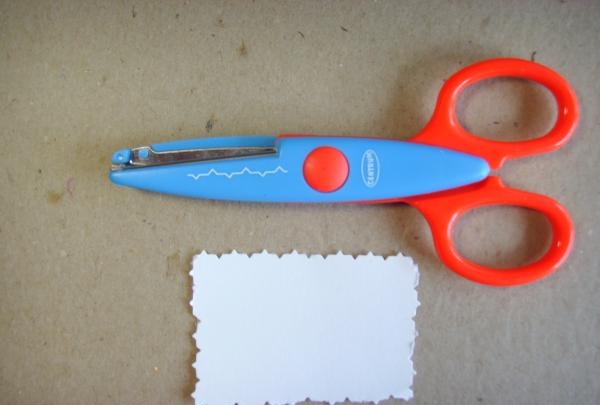
- curly scissors;
- simple scissors.
Now you can make a postcard:
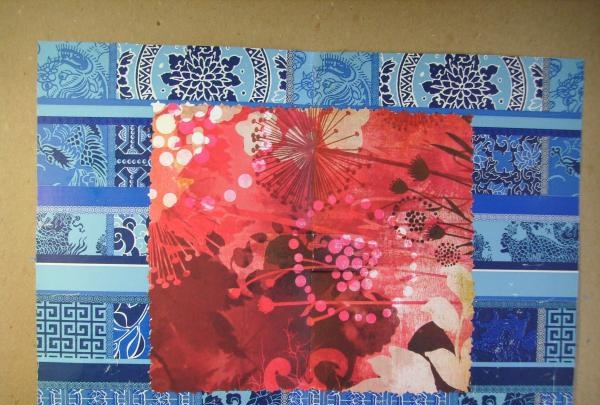
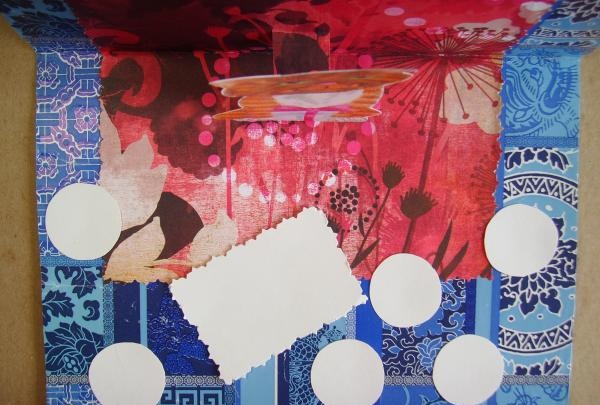
1. Fold a blue sheet of scrapbooking paper in half;
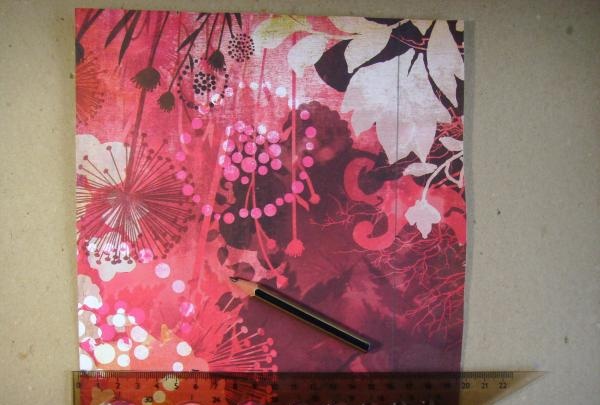
2. Draw a small square on a red piece of scrapbooking paper;
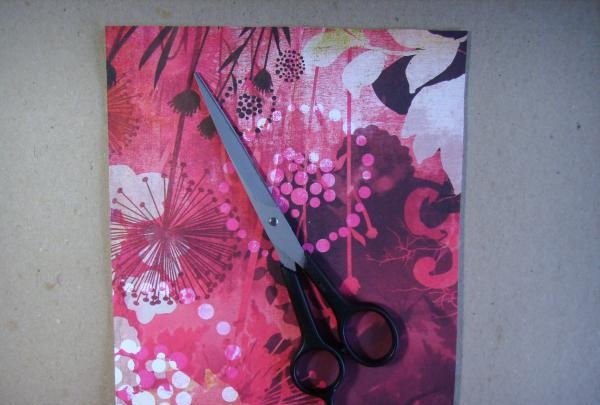
3. Cut out a square;
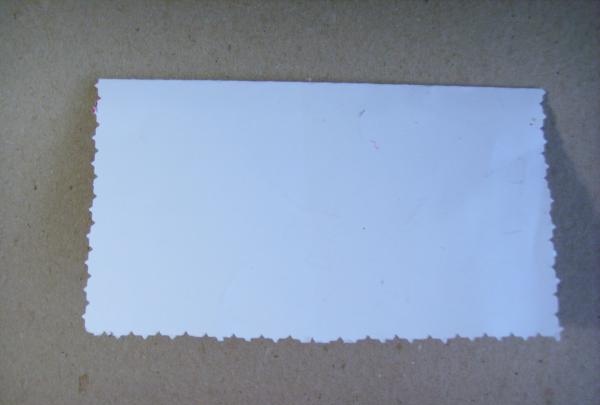
4. Using curly scissors, trim the edges of the square;
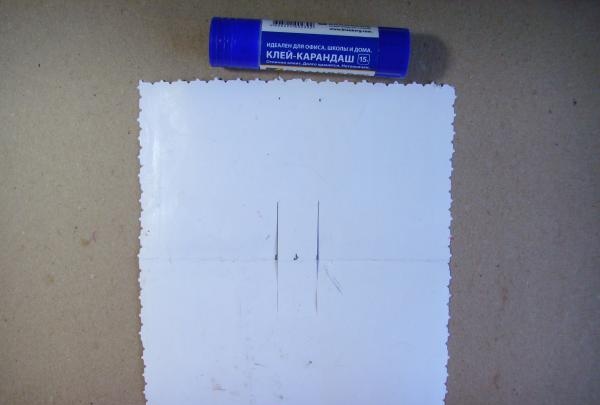
5. Fold the square in half with the red side inward;
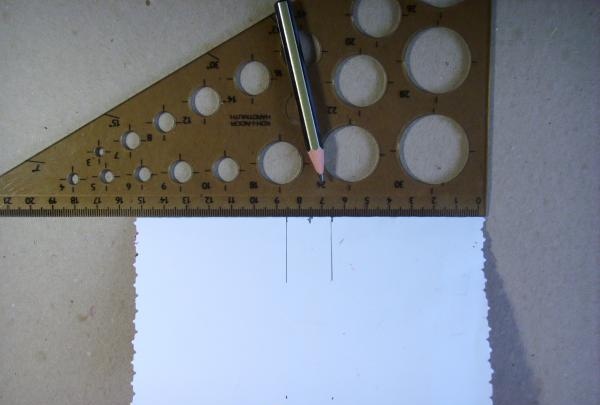
6. In the middle of the fold, mark a distance equal to two centimeters. Draw two parallel lines about three centimeters long;
7. Use scissors to make cuts along the lines;
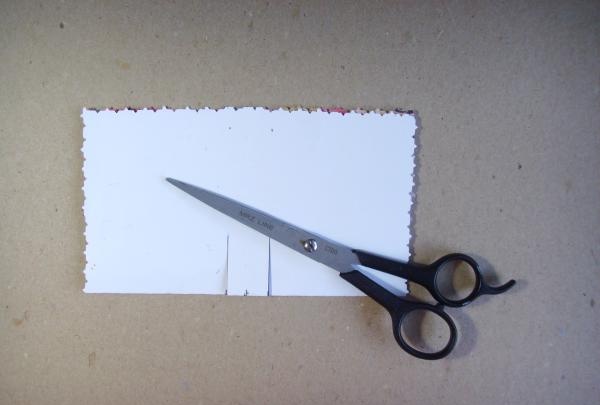
8. Bend the resulting protrusion;
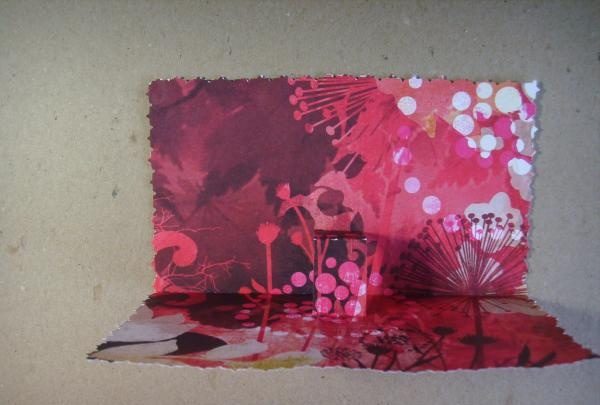
9. Coat the entire square on the back side except for the protrusion with glue;
10. Glue the red square inside the card so that the fold line of the card and the fold line of the square coincide;
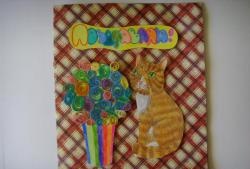
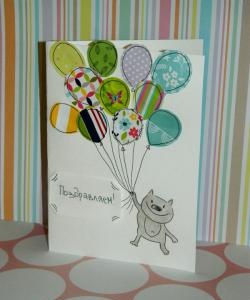
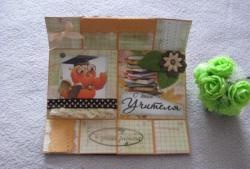
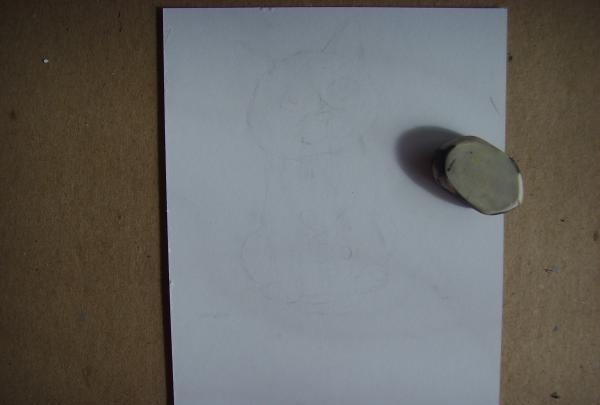
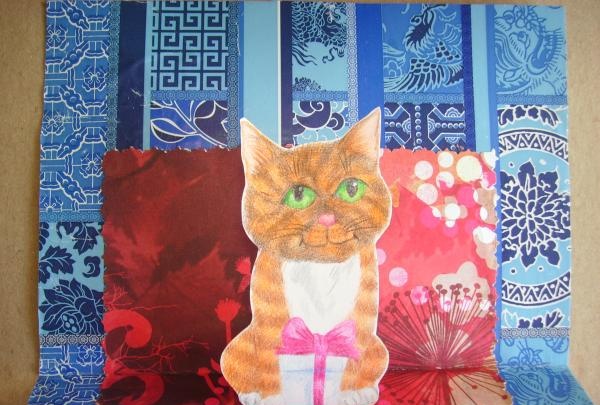
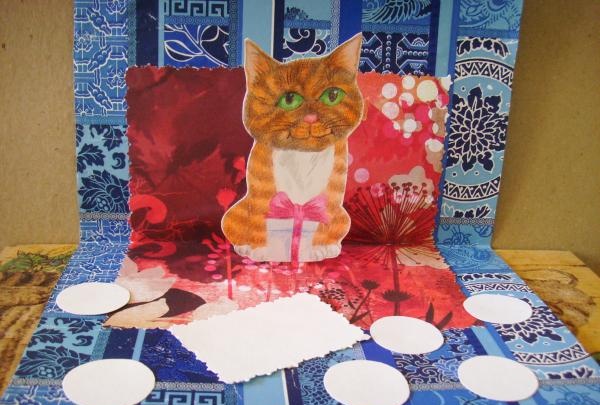
11. On a sheet of white paper, draw a cat with a gift;
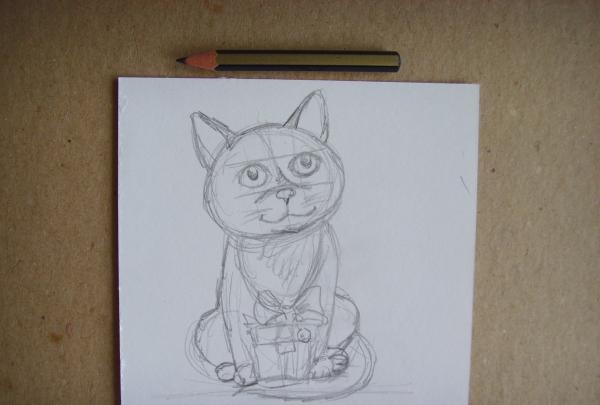
12.Use an eraser to erase all pencil lines;
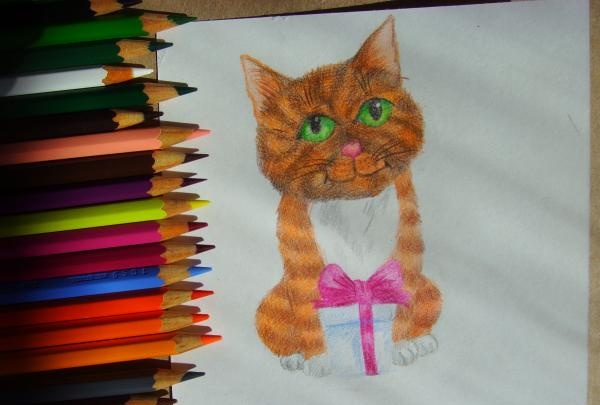
13. Use colored pencils to color the drawing;
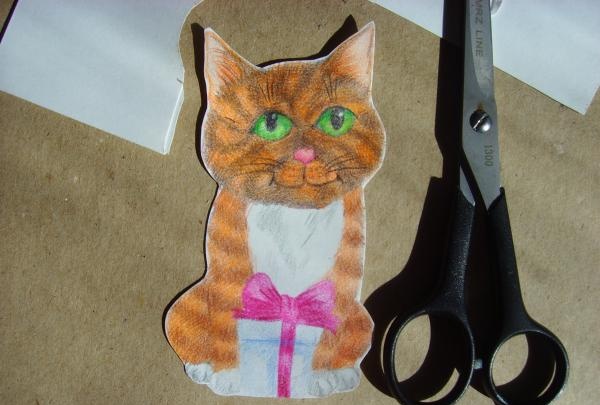
14. Using scissors, carefully cut out the cat;
15. Spread one side of the protrusion with glue and glue the cat to it;
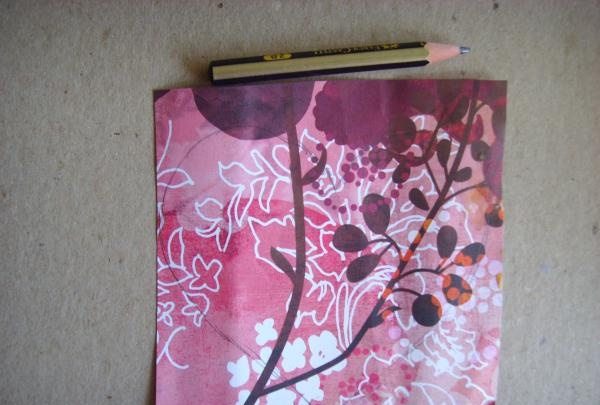
16. On the remaining piece of red scrapbooking paper, draw the outline of a heart with a simple pencil;
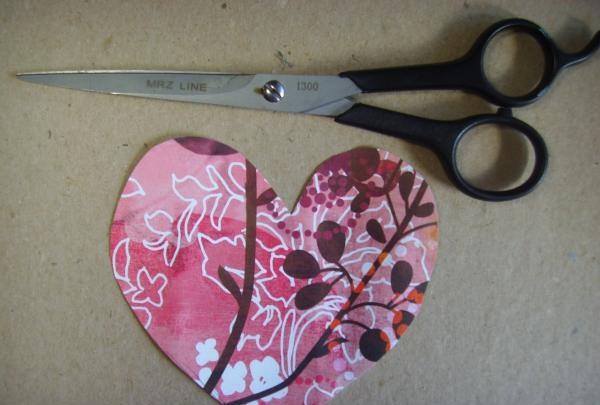
17. Cut out the heart with scissors;
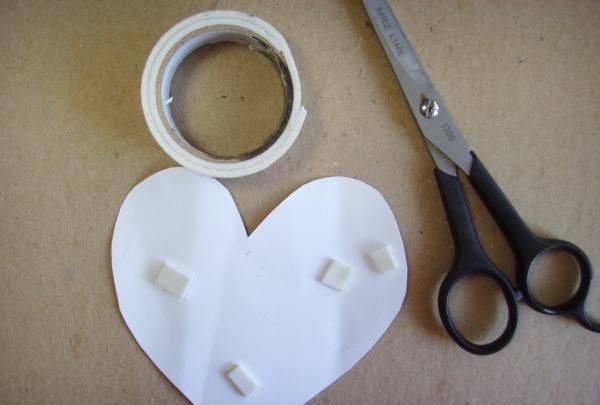
18. Turn the heart over and stick pieces of double-sided tape on it;
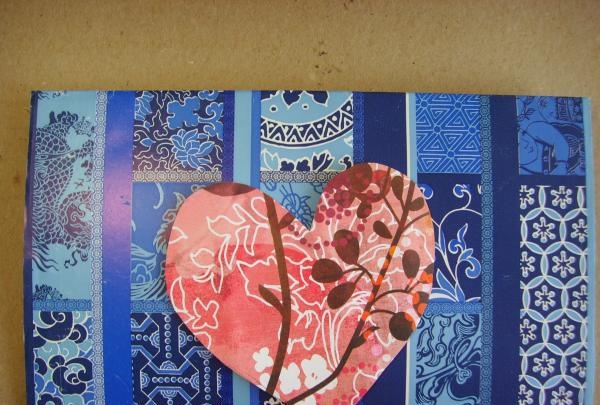
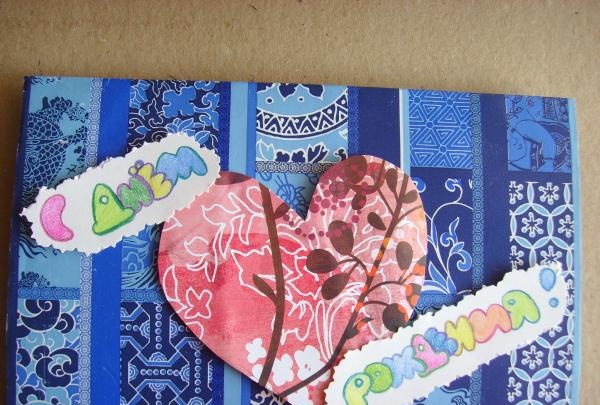
19. Glue the heart onto the front of the card, placing it approximately in the middle;
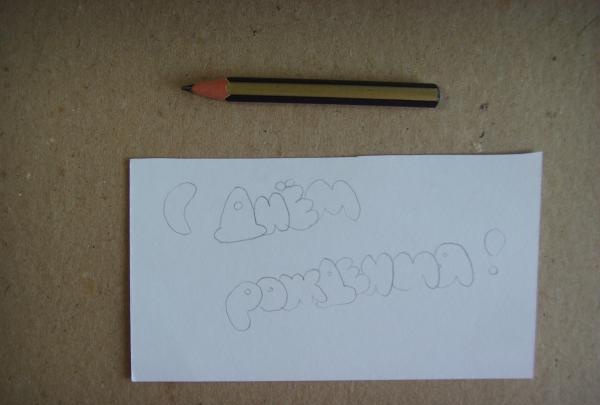
20. On a sheet of white paper, sketch a congratulatory inscription;
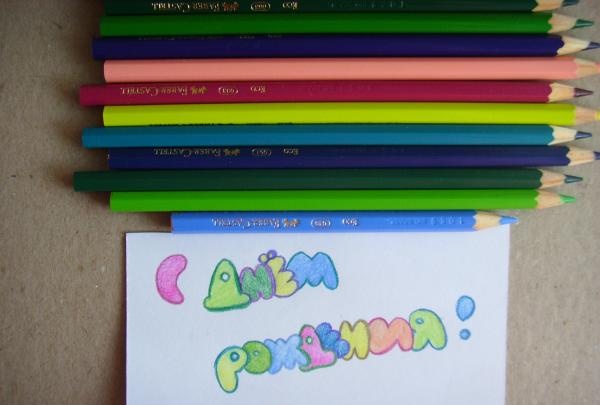
21. Use an eraser to erase the pencil lines. Color the letters with colored pencils;
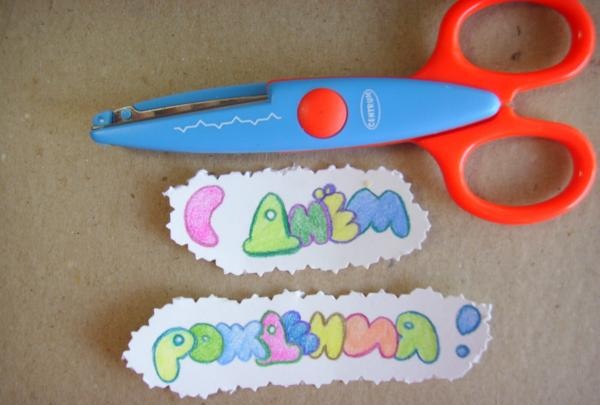
22. Using curly scissors, cut out the inscription;
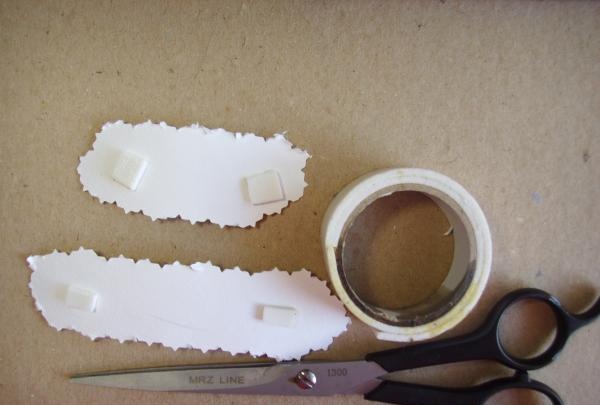
23. Turn the inscription over and glue several pieces of double-sided tape onto it;
24. Stick the inscription on both sides of the heart;
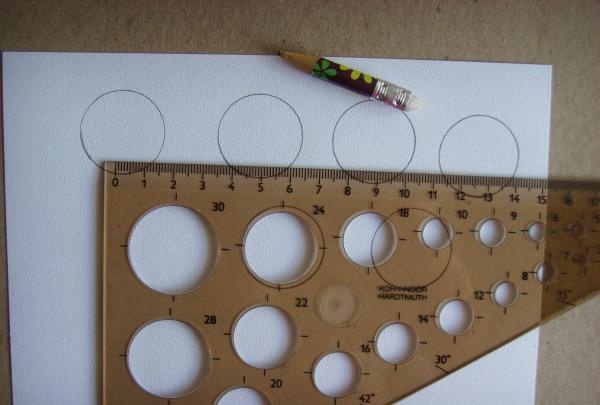
25. Draw several circles on a white sheet of paper using a ruler with a stencil or a compass;
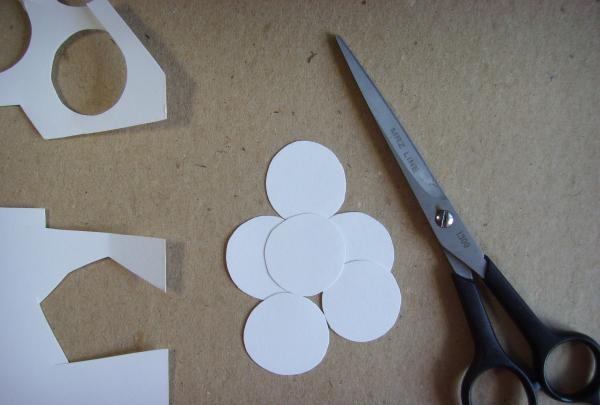
26. Cut out the circles with regular scissors;
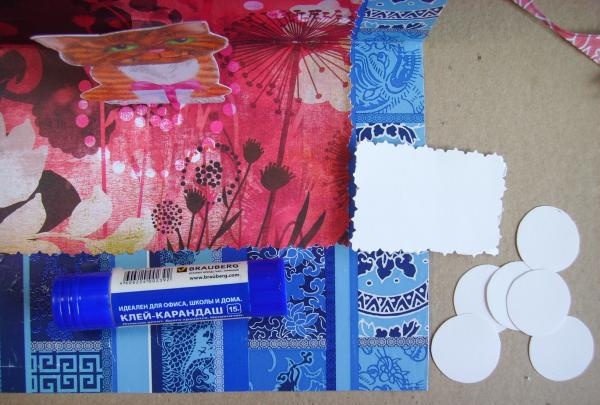
27. Using scissors, cut a small rectangle out of paper;
28. Using a glue stick, glue the circles and rectangle inside the card. You can write good wishes on them.
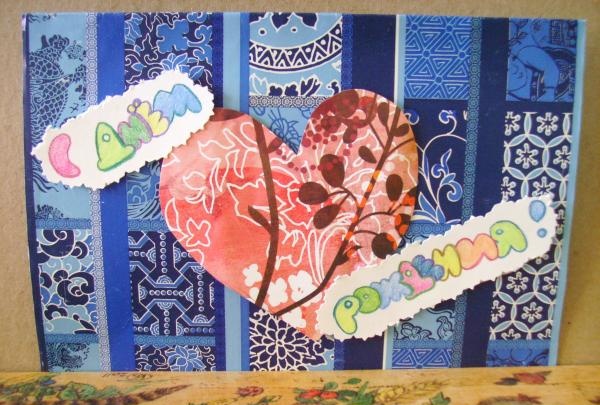
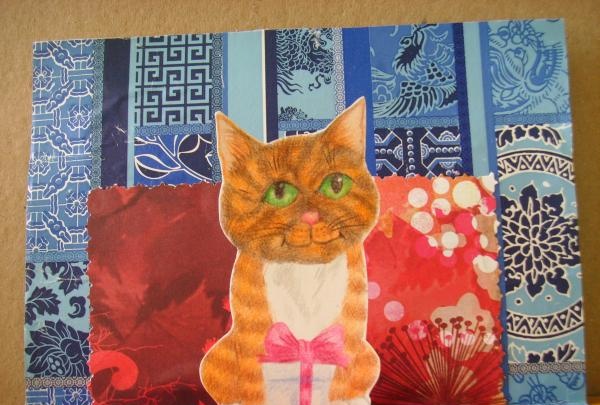
Now the postcard with a three-dimensional cat is ready. It looks very original, and therefore will be a great addition to any gift.