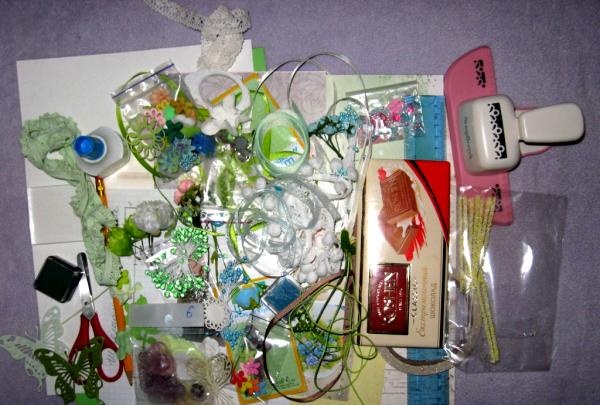
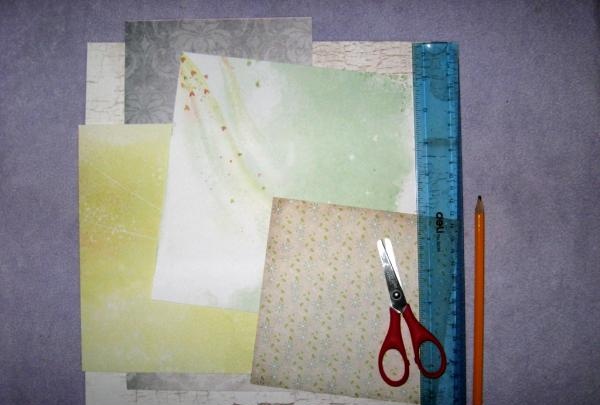
Til mesterklassen tager vi:
• Salat papark A4-format;
• Papir med forårsmotiver i grønne og gule farver, flere forskellige ark;
• Postkort layout;
• Blomsterbilleder og digte om foråret;
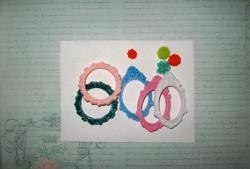
• Klip små og store cirkler ud;
• Papirhortensia-blomster er hvide og blå;
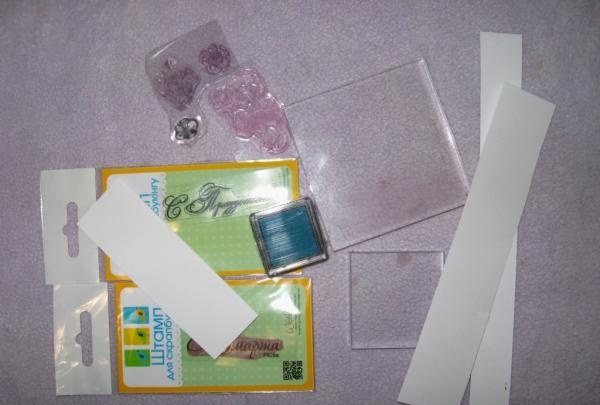
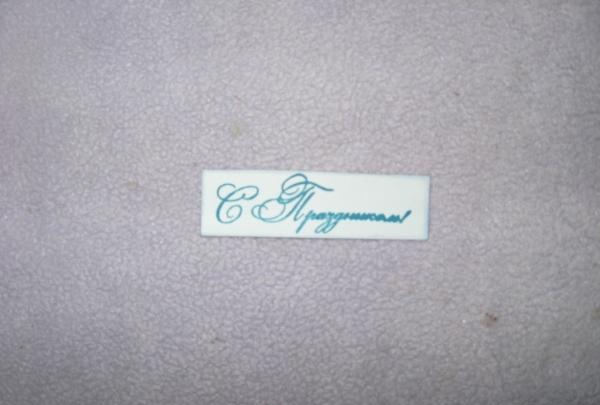
• "Happy Holidays"-stempel og blåt blæk;
• Citronfarvet polymerramme;
• Hvidt bånd med bobler;
• Mintblonde med elastik;
• Hvid bomuldsblonde;
• Salatkviste;
• Peach gardenia blomst, komplekse støvdragere og bær i sukker, salat satinbånd er ikke bredt;
• Blomsterknapper af træ;
• Halve perleperler;
• Rep bånd med print, 25 mm bred;
• Polymerblomster med lille diameter;
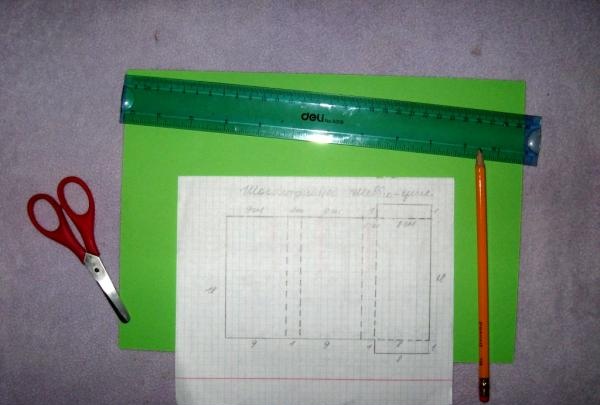
• PVA lim, lineal, saks, dobbeltklæbende tape, blyant, limpistol.
![Postkortæske i shabby chic stil](https://i.washerhouse.com/images/16/110-otkrytka-korobka-v-stile-shebbi-shik.jpg)
![Postkortæske i shabby chic stil](https://i.washerhouse.com/images/16/111-otkrytka-korobka-v-stile-shebbi-shik.jpg)
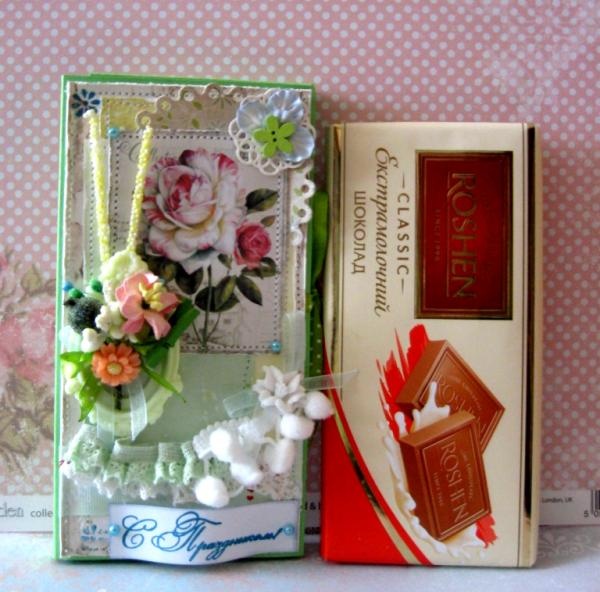
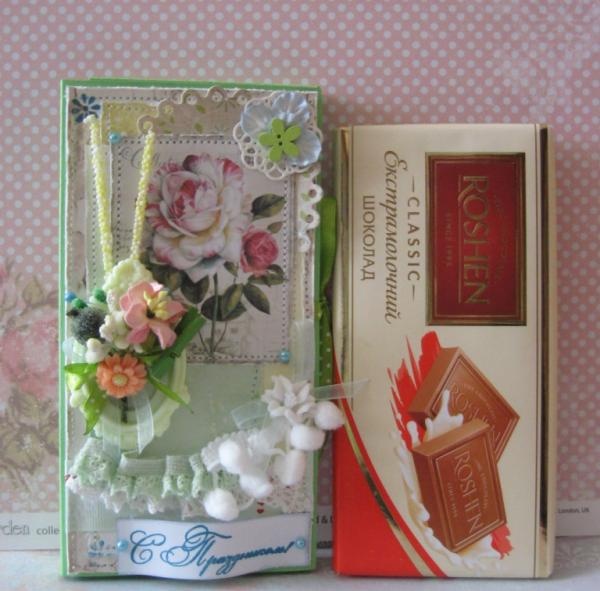
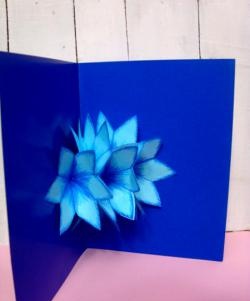
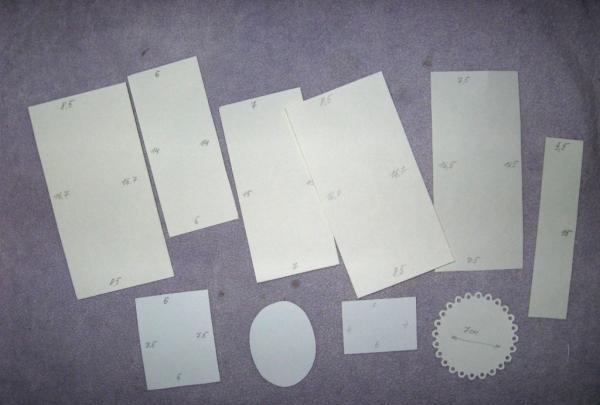
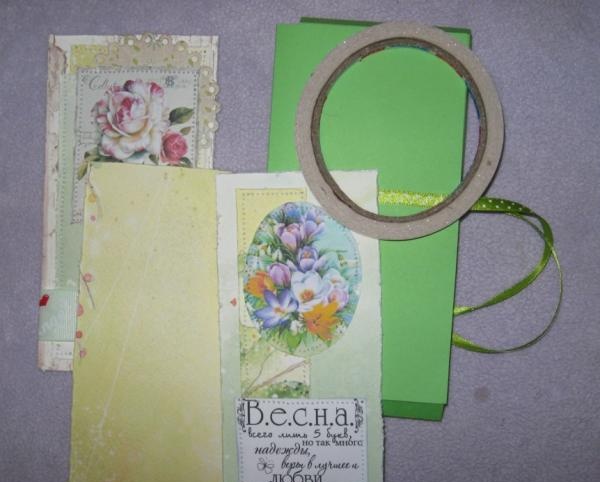
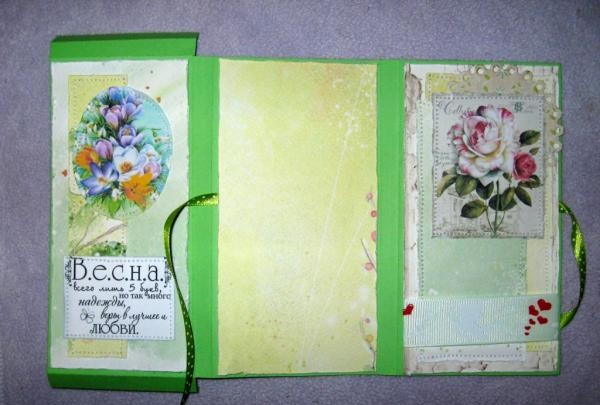
Bredden af siderne på vores postkort vil være 9 * 9 og 8 cm, og højden vil være 18 cm Diagrammet viser tydeligt afstanden mellem siderne og halerne for at lave en lomme til kassen.
![Postkortæske i shabby chic stil](https://i.washerhouse.com/images/16/112-otkrytka-korobka-v-stile-shebbi-shik.jpg)
![Postkortæske i shabby chic stil](https://i.washerhouse.com/images/16/113-otkrytka-korobka-v-stile-shebbi-shik.jpg)
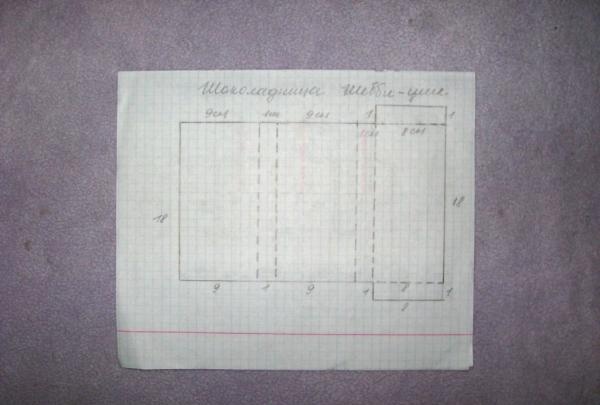
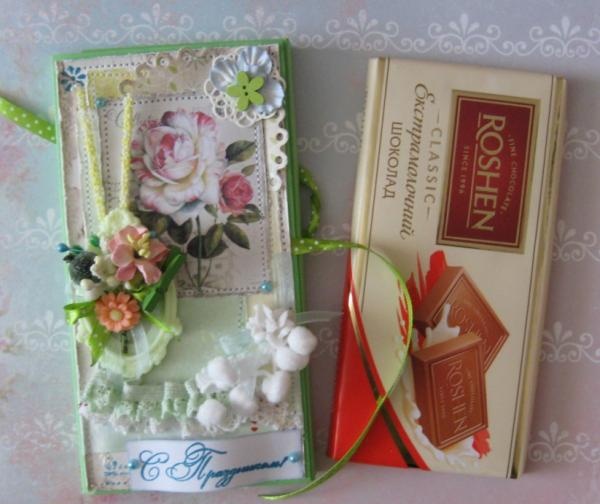
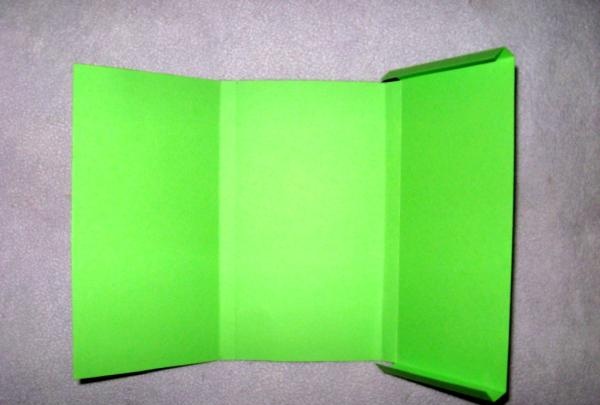
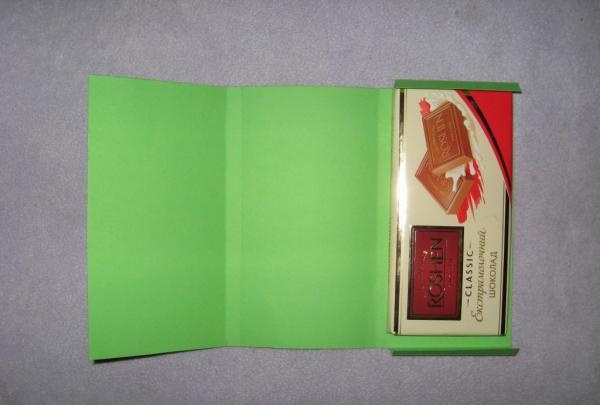
Vi overfører hele postkortets dimensioner i henhold til diagrammet på lysegrønt karton, som vi straks placerer i vandret position. Vi laver alle bøjningssteder ved hjælp af endesiden af en saks under linealen. Du kan prøve en chokoladebar i lommen, den passer perfekt der.
![Postkortæske i shabby chic stil](https://i.washerhouse.com/images/16/114-otkrytka-korobka-v-stile-shebbi-shik.jpg)
![Postkortæske i shabby chic stil](https://i.washerhouse.com/images/16/115-otkrytka-korobka-v-stile-shebbi-shik.jpg)
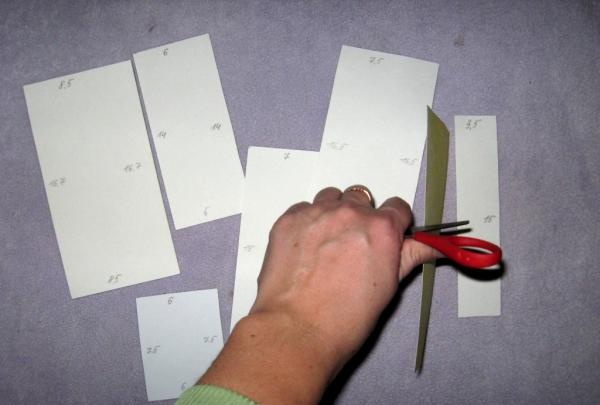
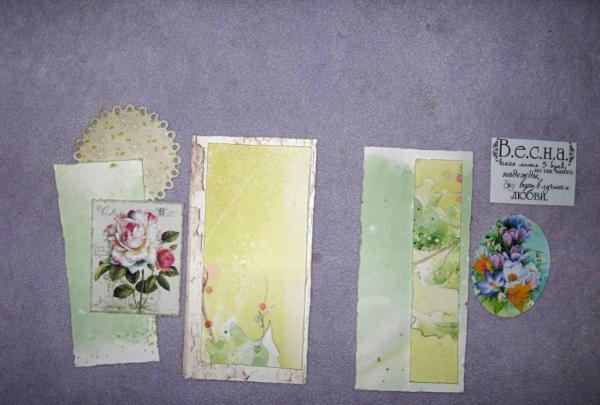
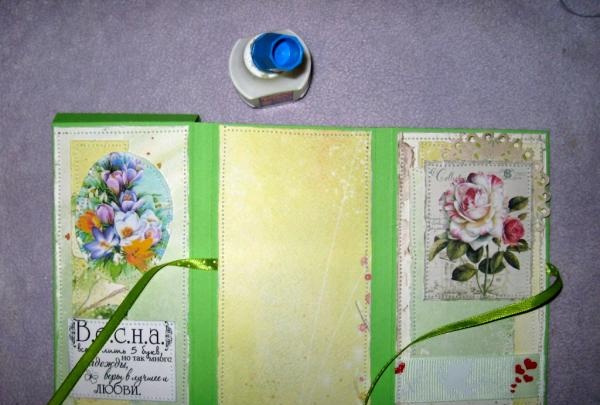
Nu tager vi flere ark skrotpapir og skærer rektangler ud af samme størrelse som på billedet.
![Postkortæske i shabby chic stil](https://i.washerhouse.com/images/16/116-otkrytka-korobka-v-stile-shebbi-shik.jpg)
![Postkortæske i shabby chic stil](https://i.washerhouse.com/images/16/117-otkrytka-korobka-v-stile-shebbi-shik.jpg)
Nu skal flere rektangler ridses langs kanterne med en saks. Dette kaldes at tilføje antikken til den shabby chic stil.
![Postkortæske i shabby chic stil](https://i.washerhouse.com/images/16/118-otkrytka-korobka-v-stile-shebbi-shik.jpg)
![Postkortæske i shabby chic stil](https://i.washerhouse.com/images/16/119-otkrytka-korobka-v-stile-shebbi-shik.jpg)
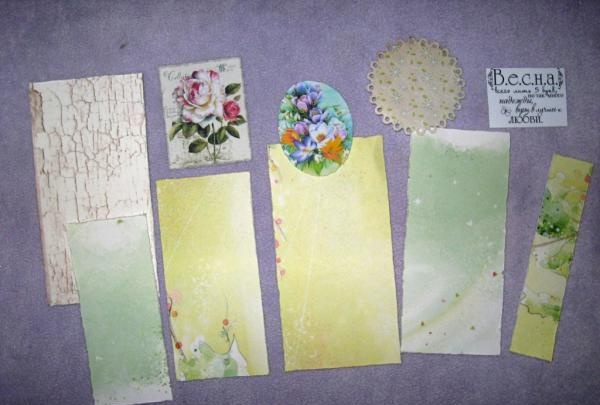
Nu limer vi de mindre stykker til de større ved hjælp af strimler af dobbeltklæbende tape. Vi syr dem på med en maskine.
![Postkortæske i shabby chic stil](https://i.washerhouse.com/images/16/120-otkrytka-korobka-v-stile-shebbi-shik.jpg)
![Postkortæske i shabby chic stil](https://i.washerhouse.com/images/16/121-otkrytka-korobka-v-stile-shebbi-shik.jpg)
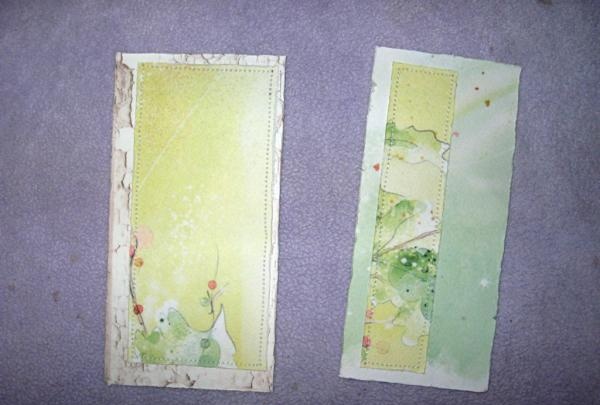
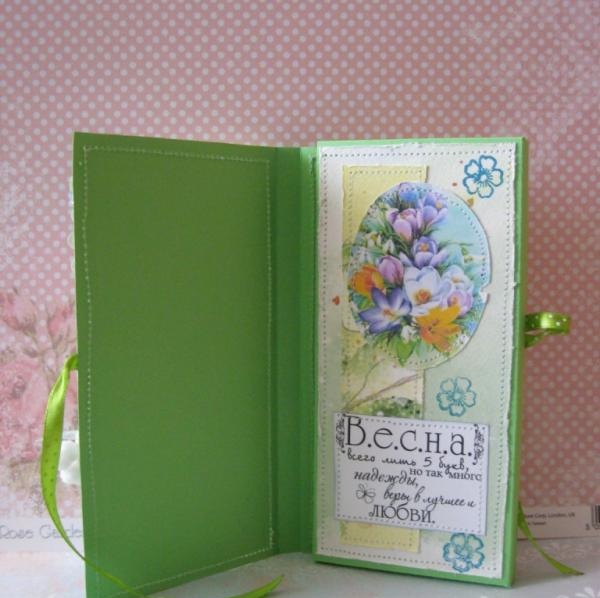
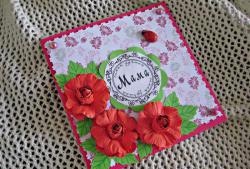
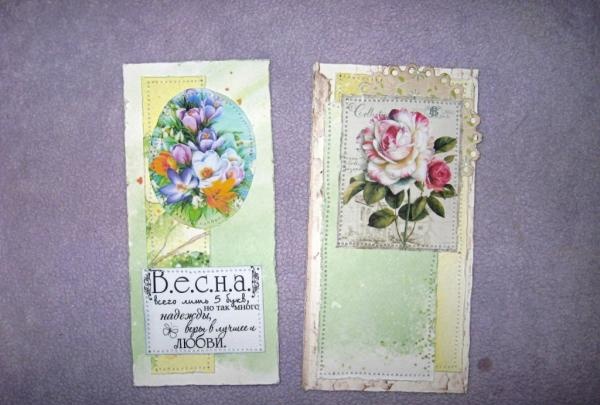
Nu limer vi cirkler, billeder og et digt ovenpå.
![Postkortæske i shabby chic stil](https://i.washerhouse.com/images/16/122-otkrytka-korobka-v-stile-shebbi-shik.jpg)
![Postkortæske i shabby chic stil](https://i.washerhouse.com/images/16/123-otkrytka-korobka-v-stile-shebbi-shik.jpg)
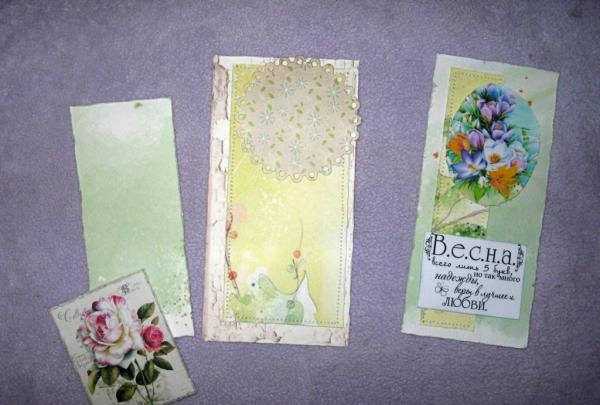
Vi syr dem også på med en maskine. Nu vil vi dekorere det forreste emne på postkortet. Klip et bredt grosgrain-bånd, mynteblonde og satinbånd af.
![Postkortæske i shabby chic stil](https://i.washerhouse.com/images/16/124-otkrytka-korobka-v-stile-shebbi-shik.jpg)
![Postkortæske i shabby chic stil](https://i.washerhouse.com/images/16/125-otkrytka-korobka-v-stile-shebbi-shik.jpg)
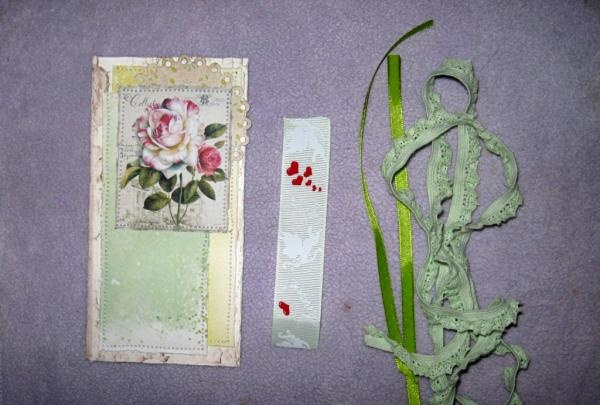
Vi limer en strimmel tape til papbasen på forsiden og bagsiden, dette vil være kortets lukning. Nu limer vi alle tre emner på bunden med strimler af tape.
![Postkortæske i shabby chic stil](https://i.washerhouse.com/images/16/126-otkrytka-korobka-v-stile-shebbi-shik.jpg)
![Postkortæske i shabby chic stil](https://i.washerhouse.com/images/16/127-otkrytka-korobka-v-stile-shebbi-shik.jpg)
Vi syr hver side separat med en maskine. Vi limer lommen med PVA-lim og danner en kasse.
![Postkortæske i shabby chic stil](https://i.washerhouse.com/images/16/128-otkrytka-korobka-v-stile-shebbi-shik.jpg)
![Postkortæske i shabby chic stil](https://i.washerhouse.com/images/16/129-otkrytka-korobka-v-stile-shebbi-shik.jpg)
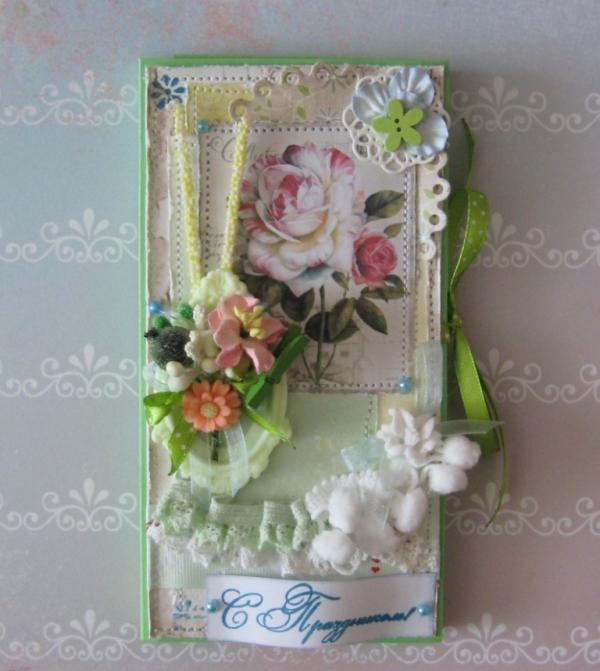
Vi tager et stempel, sætter det på en akrylblok og stempler inskriptionen "Happy Holidays" på hvidt papir. Det skal tones med samme blæk.
![Postkortæske i shabby chic stil](https://i.washerhouse.com/images/16/130-otkrytka-korobka-v-stile-shebbi-shik.jpg)
![Postkortæske i shabby chic stil](https://i.washerhouse.com/images/16/131-otkrytka-korobka-v-stile-shebbi-shik.jpg)
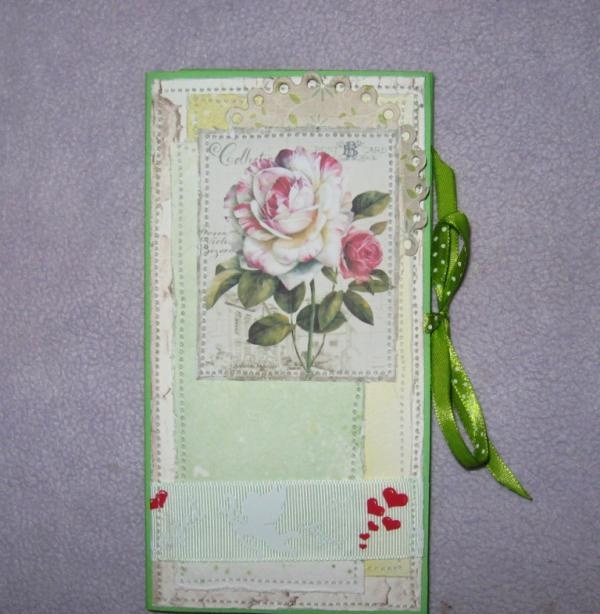
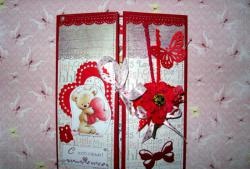
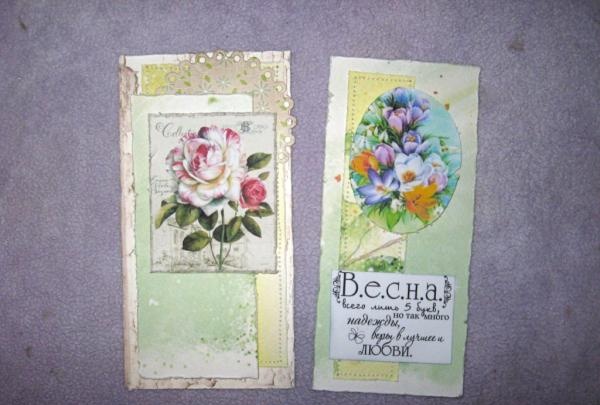
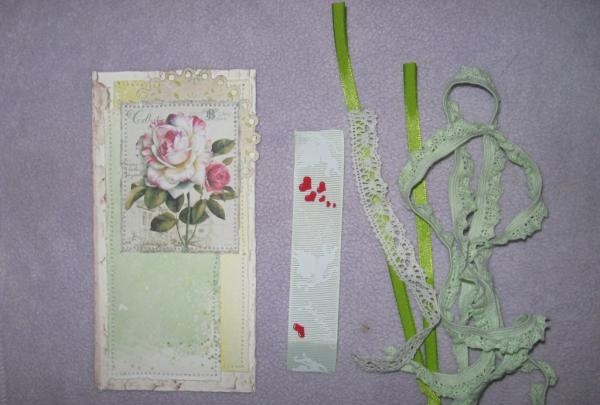
Vi limer inskriptionen i bunden af postkortet. Under billedet lægger vi ud og limer først hvide blonder, derefter mynteblonder og et bånd med bobler.
![Postkortæske i shabby chic stil](https://i.washerhouse.com/images/16/132-otkrytka-korobka-v-stile-shebbi-shik.jpg)
![Postkortæske i shabby chic stil](https://i.washerhouse.com/images/16/133-otkrytka-korobka-v-stile-shebbi-shik.jpg)
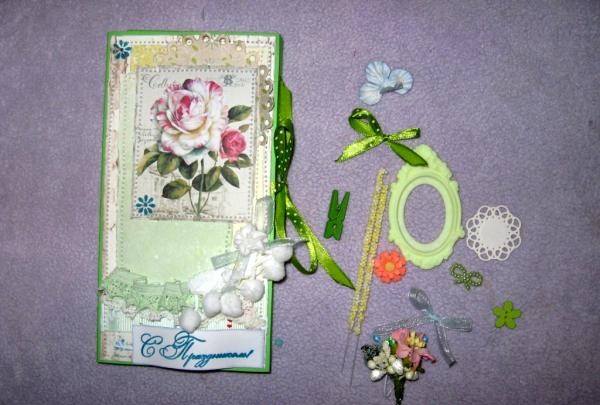
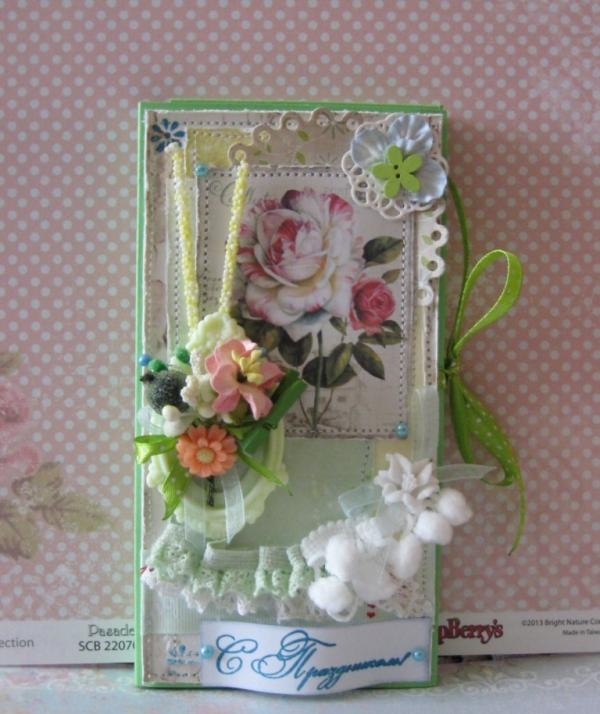
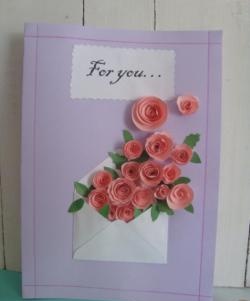
Tilbage er kun at lime på rammen, buketten og anden indretning. Vi limer alt som på billedet. Postkortkassen er klar! Tak for din opmærksomhed!
![Postkortæske i shabby chic stil](https://i.washerhouse.com/images/16/134-otkrytka-korobka-v-stile-shebbi-shik.jpg)
![Postkortæske i shabby chic stil](https://i.washerhouse.com/images/16/135-otkrytka-korobka-v-stile-shebbi-shik.jpg)
![Postkortæske i shabby chic stil](https://i.washerhouse.com/images/16/136-otkrytka-korobka-v-stile-shebbi-shik.jpg)
![Postkortæske i shabby chic stil](https://i.washerhouse.com/images/16/137-otkrytka-korobka-v-stile-shebbi-shik.jpg)
![Postkortæske i shabby chic stil](https://i.washerhouse.com/images/16/138-otkrytka-korobka-v-stile-shebbi-shik.jpg)