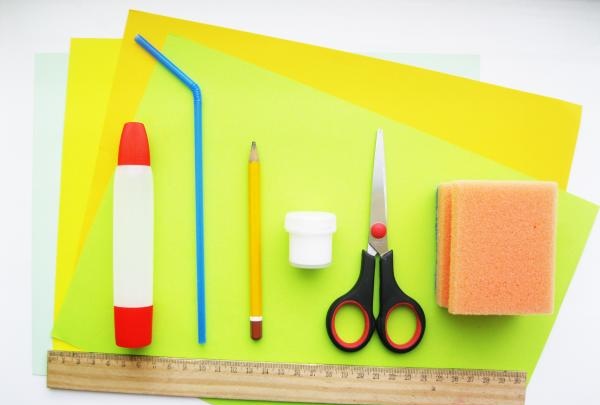
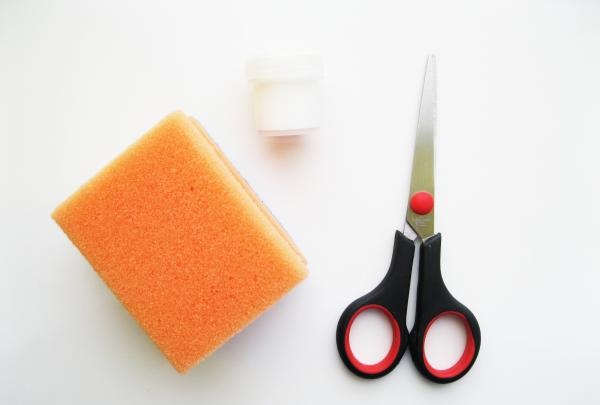
Nødvendige materialer:
- gul, orange og grøn dobbeltsidet halvkarton;
- svamp til opvask;
- sugerør;
- kontorlim;
- hvid gouache;
- saks;
- en simpel blyant;
- lineal.
![Lemonade lavet af farvet papir](https://i.washerhouse.com/images/11/1630-limonad-iz-cvetnoy-bumagi.jpg)
Stadier af fremstilling af limonade:
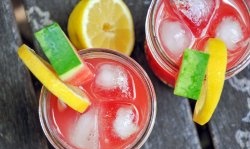
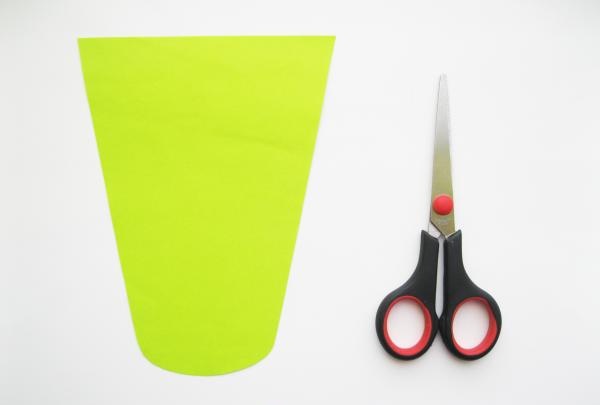
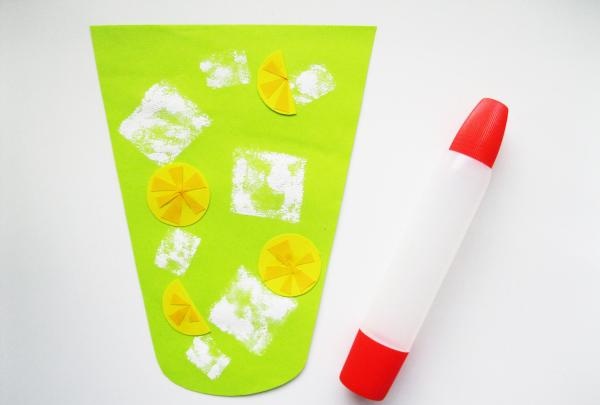
1. For at lave en kop, hvori der vil være limonade, skal du tage grønt dobbeltsidet halvkarton. Efter at have tegnet silhuetten af en kop eller et glas, skal du forsigtigt skære den ud med en saks.
![Lemonade lavet af farvet papir](https://i.washerhouse.com/images/11/1631-limonad-iz-cvetnoy-bumagi.jpg)
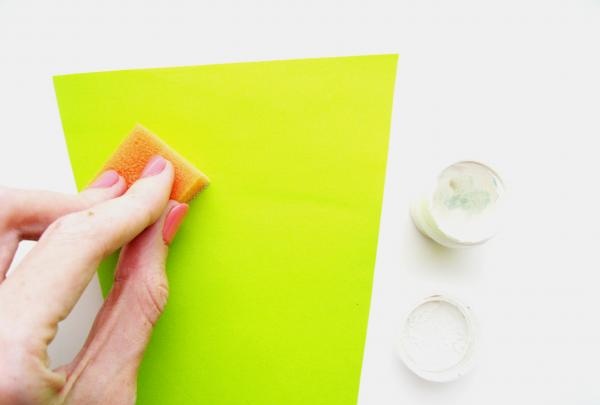
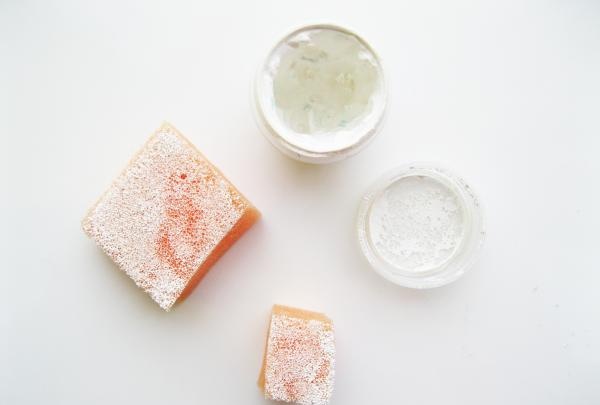
2. Læg nu isstykker i glasset. For at gøre dette har vi brug for en saks, en simpel vaskeklud og hvid gouache.
![Lemonade lavet af farvet papir](https://i.washerhouse.com/images/11/1632-limonad-iz-cvetnoy-bumagi.jpg)
![Lemonade lavet af farvet papir](https://i.washerhouse.com/images/11/1633-limonad-iz-cvetnoy-bumagi.jpg)
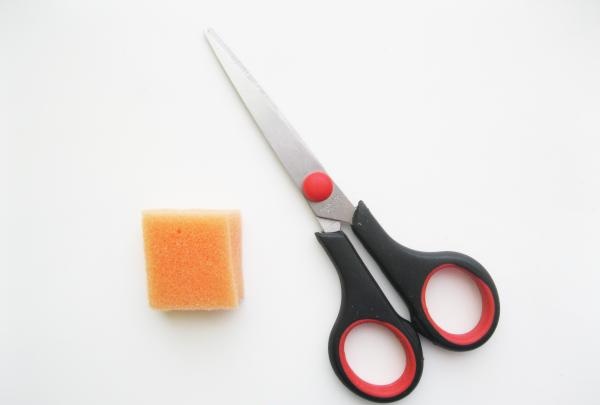
3. Klip en lille firkant ud af vaskekluden.
4. Dyp den i hvid gouache. Det er godt, hvis malingen er ujævnt fordelt på vaskekluden. Dette vil give isterningerne et mere interessant og naturligt udseende. Du kan også bruge en børste, med hvilken du forsigtigt kan påføre gouache på de nødvendige områder af vaskekluden.
![Lemonade lavet af farvet papir](https://i.washerhouse.com/images/11/1634-limonad-iz-cvetnoy-bumagi.jpg)
![Lemonade lavet af farvet papir](https://i.washerhouse.com/images/11/1635-limonad-iz-cvetnoy-bumagi.jpg)
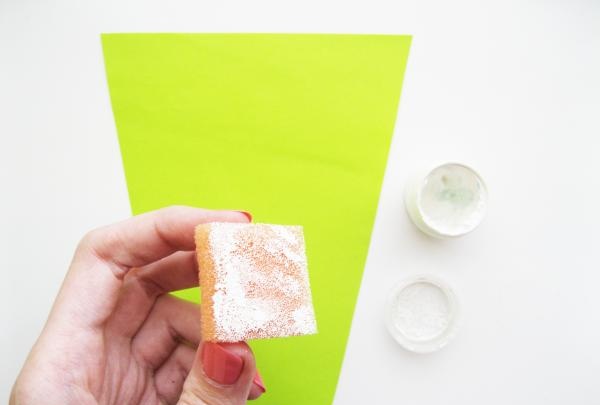
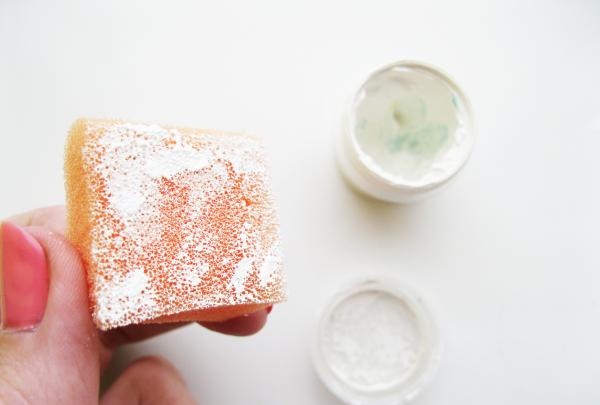
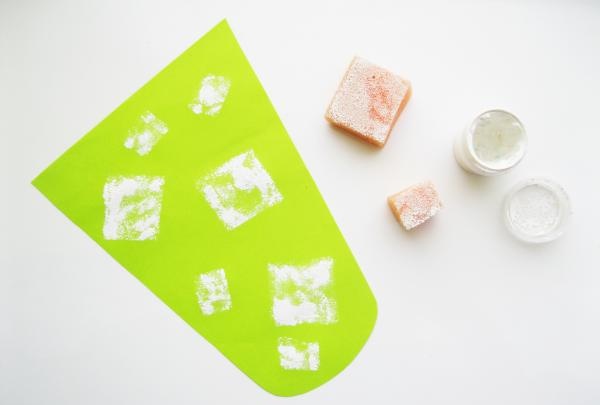
5. Vi laver et aftryk på koppen hvor som helst.
![Lemonade lavet af farvet papir](https://i.washerhouse.com/images/11/1636-limonad-iz-cvetnoy-bumagi.jpg)
![Lemonade lavet af farvet papir](https://i.washerhouse.com/images/11/1637-limonad-iz-cvetnoy-bumagi.jpg)
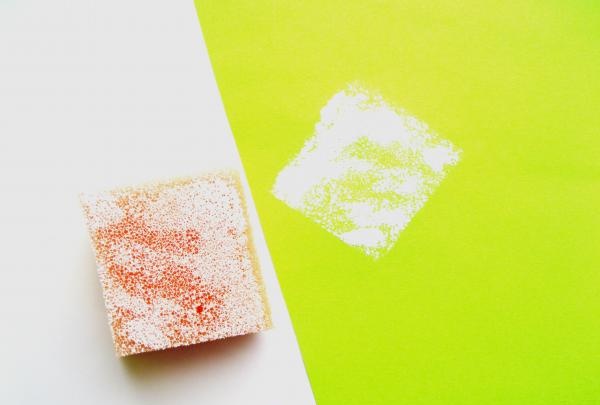
6. Her er den første isterning placeret på vores glas.
7.Det gør vi et par gange mere: Påfør maling på en vaskeklud og gør indtryk.
![Lemonade lavet af farvet papir](https://i.washerhouse.com/images/11/1638-limonad-iz-cvetnoy-bumagi.jpg)
![Lemonade lavet af farvet papir](https://i.washerhouse.com/images/11/1639-limonad-iz-cvetnoy-bumagi.jpg)
8. Klip en mindre firkant ud af vaskekluden. Påfør hvid gouache på det.
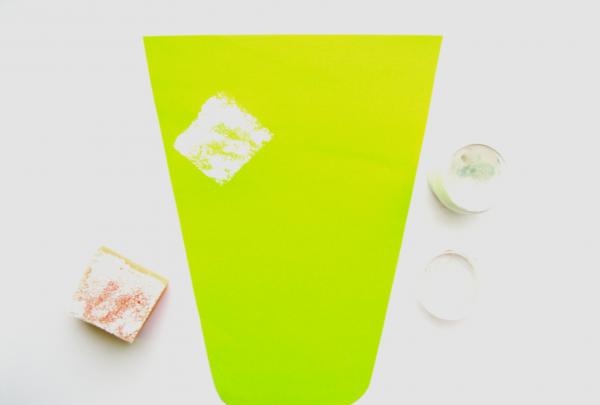
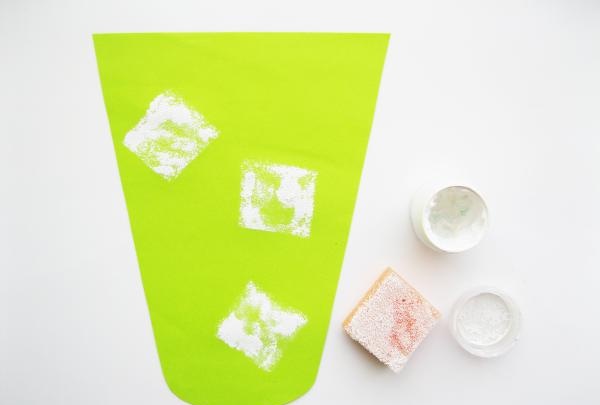
9. Vi laver flere tryk på glasset forskellige steder. Som et resultat vil vi ende med små isstykker, der allerede er smeltet lidt i limonaden.
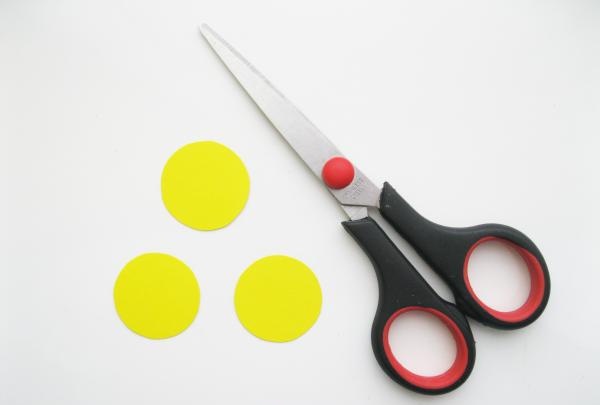
10. Hvad ville limonade være uden citrusfrugter?! Så vi tager gult dobbeltsidet halvkarton og skærer flere cirkler ud fra det.
![Lemonade lavet af farvet papir](https://i.washerhouse.com/images/11/1640-limonad-iz-cvetnoy-bumagi.jpg)
![Lemonade lavet af farvet papir](https://i.washerhouse.com/images/11/1641-limonad-iz-cvetnoy-bumagi.jpg)
![Lemonade lavet af farvet papir](https://i.washerhouse.com/images/11/1642-limonad-iz-cvetnoy-bumagi.jpg)
11. Skær skiver ud af orange halvkarton eller papir.
![Lemonade lavet af farvet papir](https://i.washerhouse.com/images/11/1643-limonad-iz-cvetnoy-bumagi.jpg)
![Lemonade lavet af farvet papir](https://i.washerhouse.com/images/11/1644-limonad-iz-cvetnoy-bumagi.jpg)
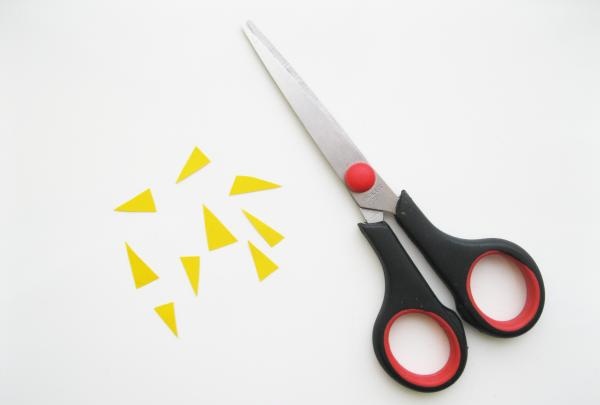
12. Lim det på vores cirkler. Nogle kan skæres i halve.
13. Læg de færdige citrusfrugter i et glas ved hjælp af kontorlim.
![Lemonade lavet af farvet papir](https://i.washerhouse.com/images/11/1645-limonad-iz-cvetnoy-bumagi.jpg)
![Lemonade lavet af farvet papir](https://i.washerhouse.com/images/11/1646-limonad-iz-cvetnoy-bumagi.jpg)
![Lemonade lavet af farvet papir](https://i.washerhouse.com/images/11/1647-limonad-iz-cvetnoy-bumagi.jpg)
![Lemonade lavet af farvet papir](https://i.washerhouse.com/images/11/1648-limonad-iz-cvetnoy-bumagi.jpg)
![Lemonade lavet af farvet papir](https://i.washerhouse.com/images/11/1649-limonad-iz-cvetnoy-bumagi.jpg)
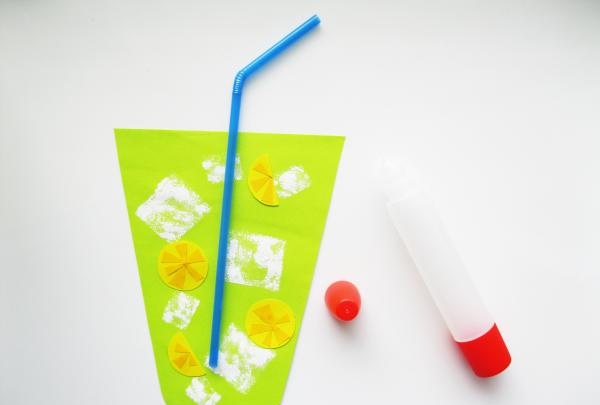
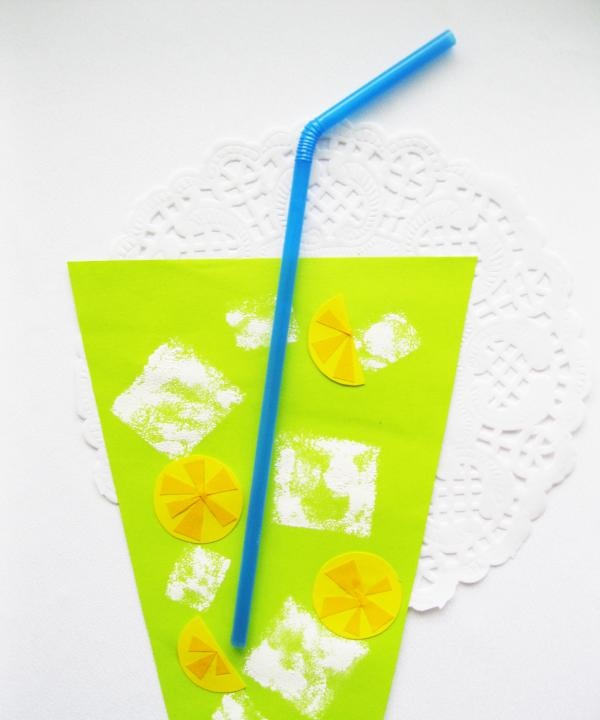
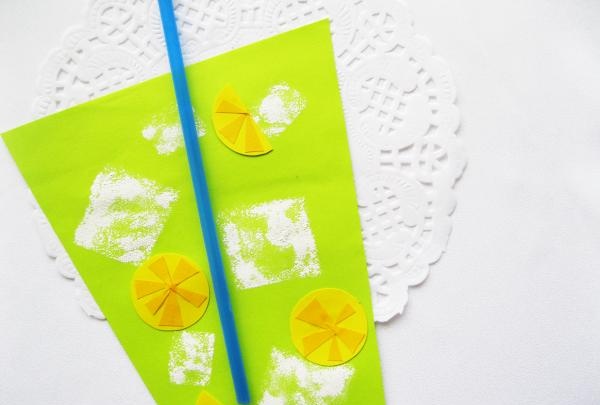
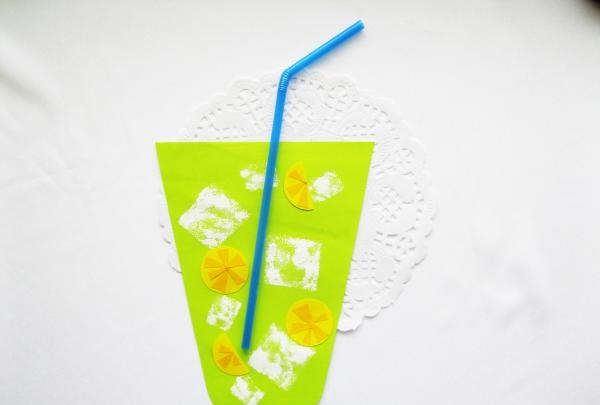
14. Nu er der kun tilbage at lime sugerøret på vores glas og nyde den behagelige smag.
![Lemonade lavet af farvet papir](https://i.washerhouse.com/images/11/1650-limonad-iz-cvetnoy-bumagi.jpg)
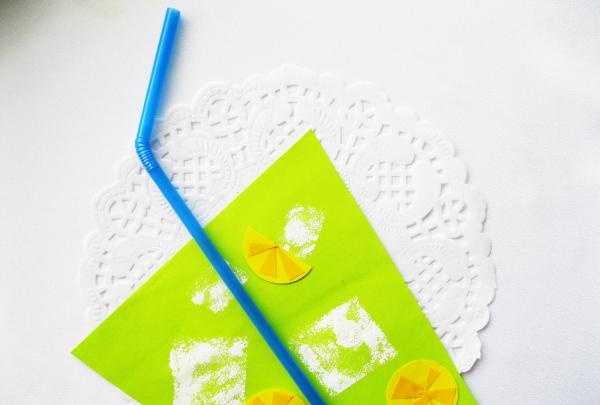
15. Lemonade lavet af farvet papir er klar.