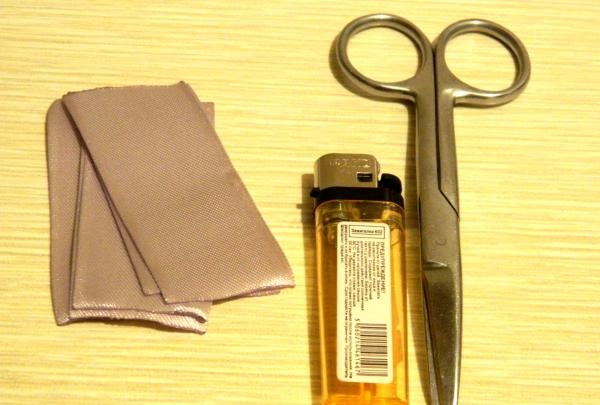
Nødvendige materialer og værktøjer:
- Varm lim.
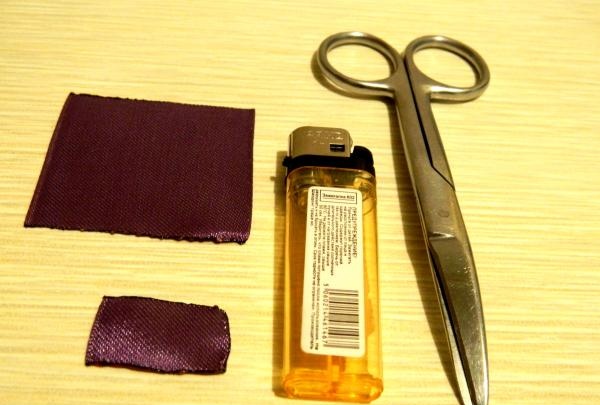
- Skarp saks.
- Pincet.
- Lettere.
- Perle.
- Sprødt.
- Støvdragere til en blomst.
- Lilla bånd 5 cm bredt.
- Syren bånd 3,5 cm bredt.

Fremstillingsmetode:
Lav 6 rektangler af lilla bånd. Længden af hver sektion skal være 5,5 cm. Behandl snittene med ild.
Bøj stykket som vist på billedet.
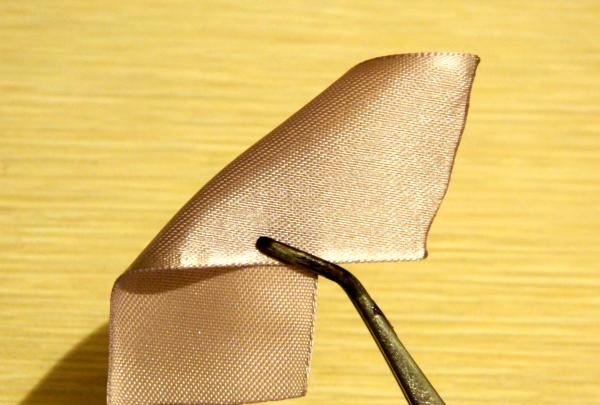
Bøj det derefter igen, forbind kanterne på emnet. Sådan skal bagsiden af stykket se ud.

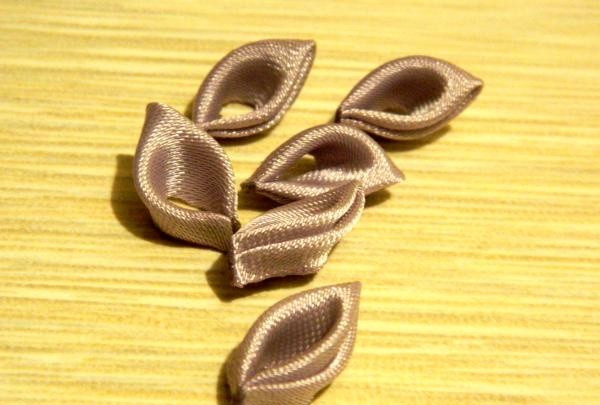
Vend det fremtidige kronblad mod dig og bring kanten af dets base til midten.

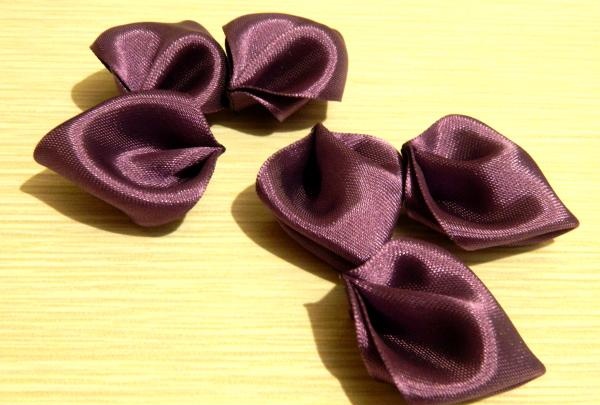
Bøj nu begge ender af basen tilbage. Du vil få et meget usædvanligt og voluminøst kronblad.

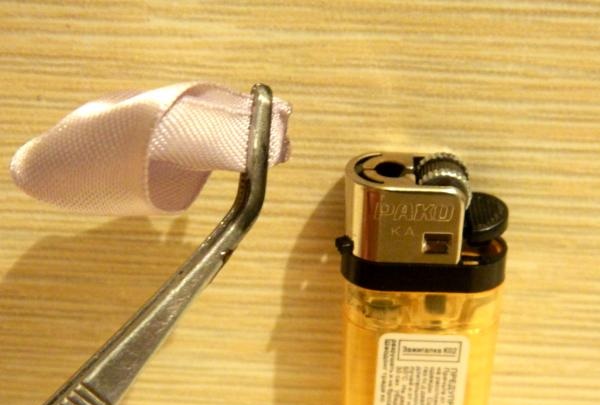
Lod enden af kronbladet.
Lav de samme kronblade fra de resterende segmenter.

Klip det lilla bånd i rektangler på 7 cm. Behandl sektionerne med en lighter.

Forbered også et firkantet stykke af denne tape og et lille stykke for at fastgøre elastikken.
Lav 6 lilla kronblade nøjagtigt på samme måde, som du gjorde de lilla.
Varmlim en række store kronblade til bunden af blomsten.

Lim syren mellem de lilla kronblade.

Lim nu støvdragerne som vist på billedet.

Lav 6 firkanter af syrenbåndet. Bearbejd udskæringerne.

Fold firkanten på midten. Forsiden af båndet skal være på ydersiden.

Bøj derefter emnet igen.

Bring kanterne af emnet sammen.

Slutningen af det fremtidige kronblad skal omhyggeligt skæres af og behandles.

Skær også bagsiden af kronbladet af.

Ret kronbladet ud og bearbejd snittet.

Her er et standard kronblad "kanzashi"Du burde lykkes.

Lav de samme kronblade fra de resterende firkanter.
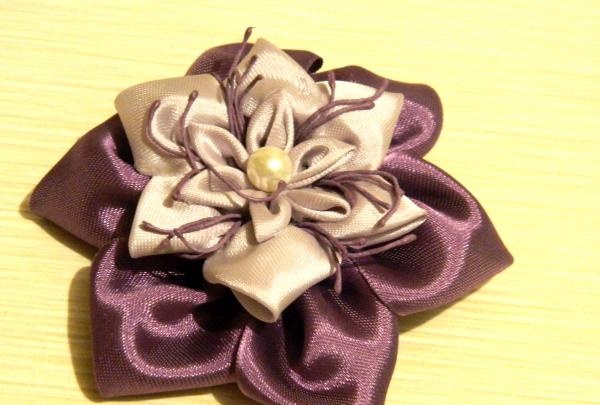
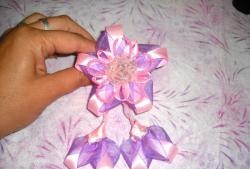
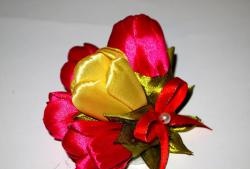
Påfør varm lim på siderne af kronbladene for at skabe en lille blomst.

Lim det til hovedproduktet, og fastgør en perle i midten.

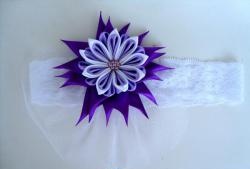
Lim et gummibånd på bagsiden af blomsten og fastgør det med et stykke lilla tape.
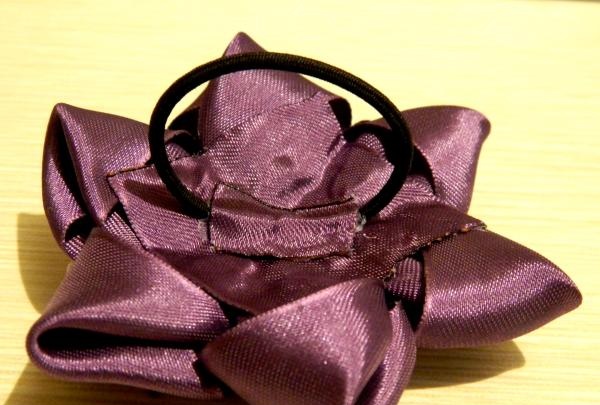
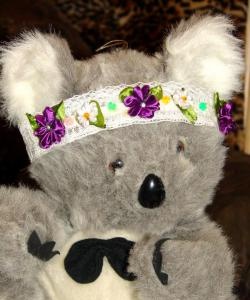
Nu er dit stilfulde hårpynt endelig klar!