![Origami modular Conillet alegre](https://i.washerhouse.com/images/7/1041-modulnoe-origami-veslyy-zaychishka.jpg)
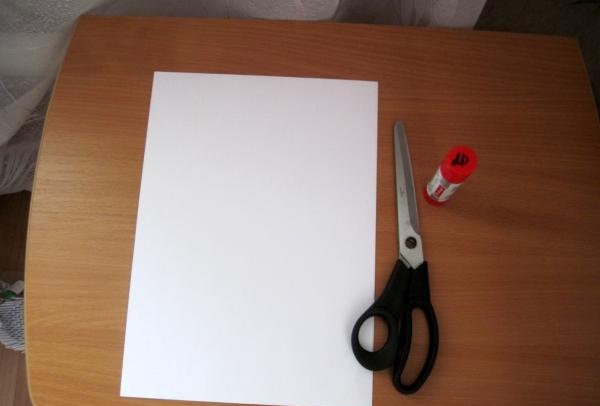
Podeu dominar la tècnica de fer mòduls amb força facilitat utilitzant les fotos següents. Per començar, a partir de fulls de paper A4 cal tallar fulles per als mateixos mòduls tal com es mostra a la figura.
![Origami modular Conillet alegre](https://i.washerhouse.com/images/7/1042-modulnoe-origami-veslyy-zaychishka.jpg)
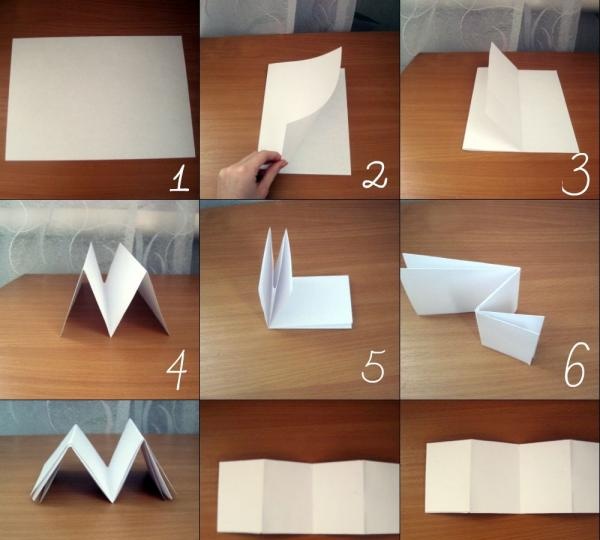
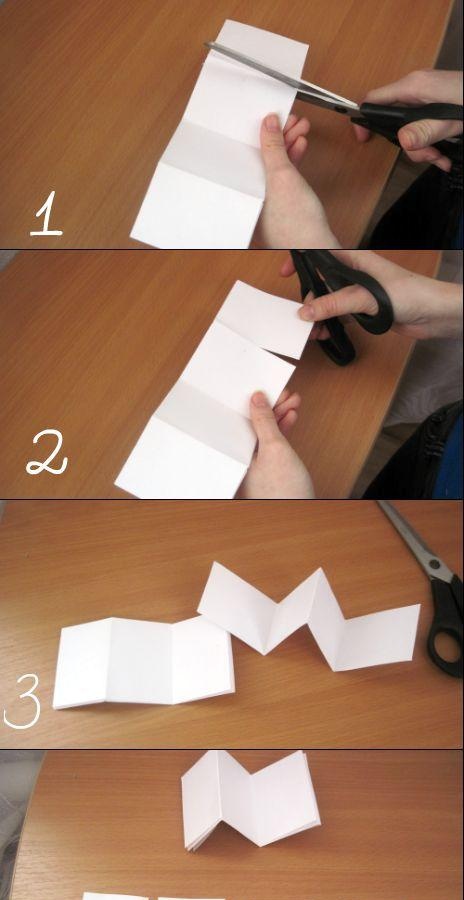
I talleu-les a parts iguals (Fig. 1-4).Una làmina ha de donar 16 fulles petites.
![Origami modular Conillet alegre](https://i.washerhouse.com/images/7/1043-modulnoe-origami-veslyy-zaychishka.jpg)
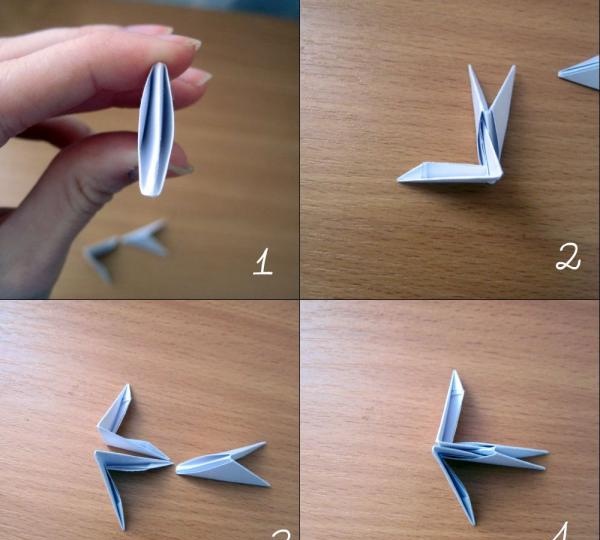
A continuació es mostra com plegar el mòdul correctament. Vaig utilitzar un full A4 per fer-ho més fàcil de veure.
![Origami modular Conillet alegre](https://i.washerhouse.com/images/7/1044-modulnoe-origami-veslyy-zaychishka.jpg)
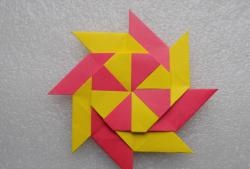
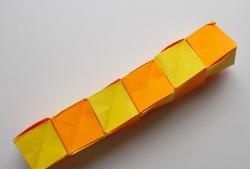
La figura mostra com connectar correctament els mòduls entre si.
![Origami modular Conillet alegre](https://i.washerhouse.com/images/7/1045-modulnoe-origami-veslyy-zaychishka.jpg)
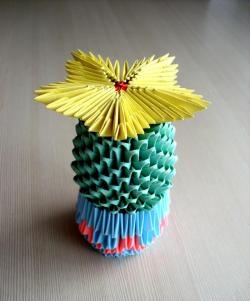
Ara que coneixeu tots els conceptes bàsics de l'origami modular, podeu començar a fer una llebre.
Per treballar necessitem:
- Fulls de paper A4.
- Tisores.
- Cola.
![Origami modular Conillet alegre](https://i.washerhouse.com/images/7/1046-modulnoe-origami-veslyy-zaychishka.jpg)
Anem a treballar.
1) Primer cal fer un gran nombre de mòduls, com més, millor.
![Origami modular Conillet alegre](https://i.washerhouse.com/images/7/1047-modulnoe-origami-veslyy-zaychishka.jpg)
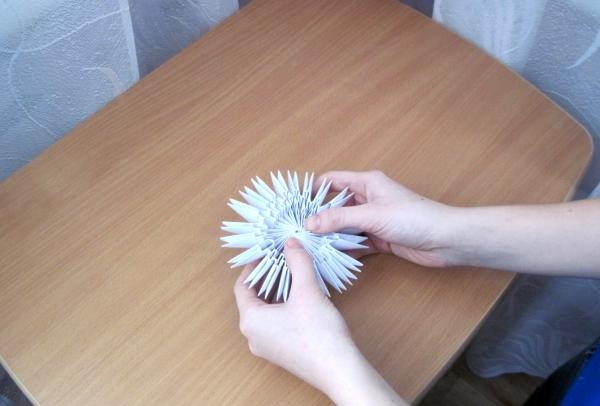
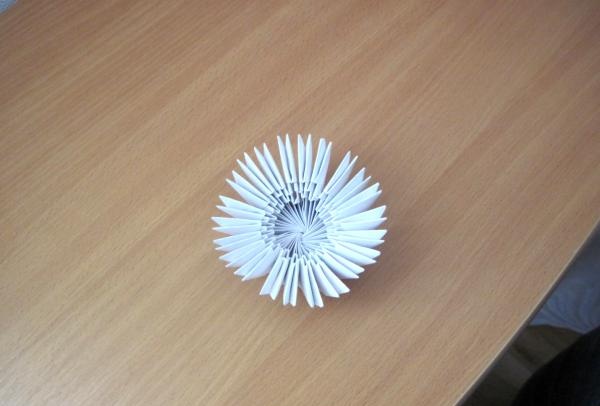
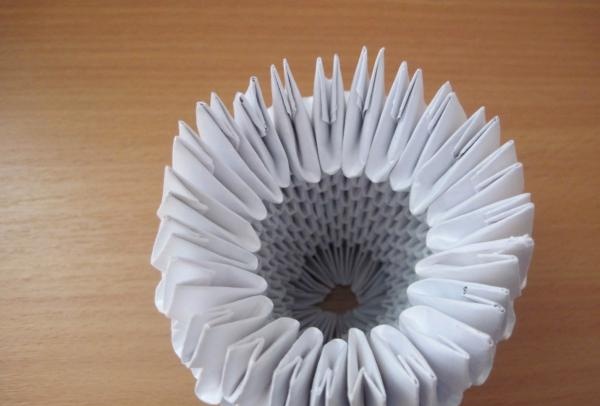
2) Agafeu 22 mòduls (és possible qualsevol nombre parell) i connecteu-los en un cercle i enganxeu-los (només la primera fila).
![Origami modular Conillet alegre](https://i.washerhouse.com/images/7/1048-modulnoe-origami-veslyy-zaychishka.jpg)
![Origami modular Conillet alegre](https://i.washerhouse.com/images/7/1049-modulnoe-origami-veslyy-zaychishka.jpg)
![Origami modular Conillet alegre](https://i.washerhouse.com/images/7/1050-modulnoe-origami-veslyy-zaychishka.jpg)
![Origami modular Conillet alegre](https://i.washerhouse.com/images/7/1051-modulnoe-origami-veslyy-zaychishka.jpg)
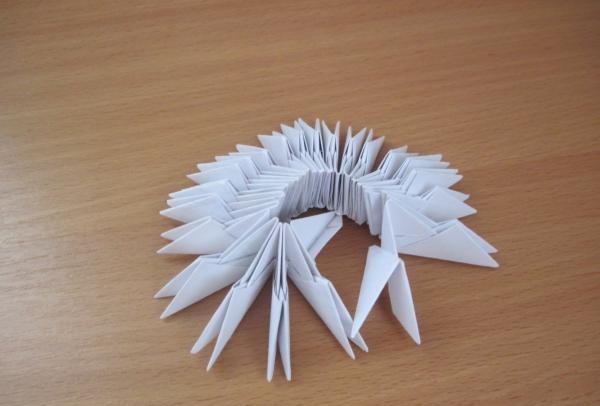
3) Muntem la primera fila, connectant dues parts de mòduls diferents. Així, fem tota la fila.
![Origami modular Conillet alegre](https://i.washerhouse.com/images/7/1052-modulnoe-origami-veslyy-zaychishka.jpg)
![Origami modular Conillet alegre](https://i.washerhouse.com/images/7/1053-modulnoe-origami-veslyy-zaychishka.jpg)
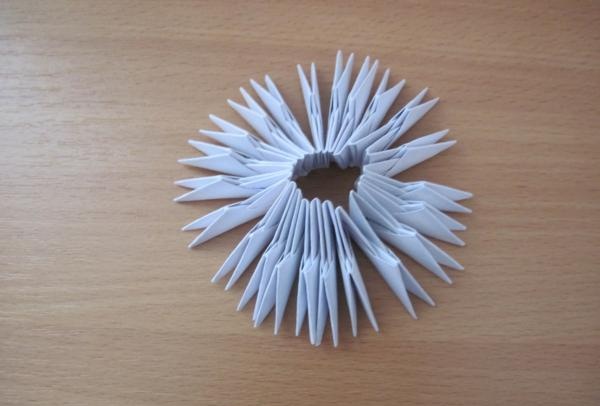
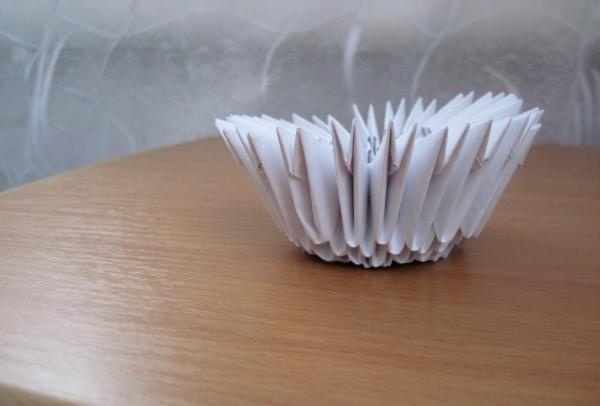
4) Recollim 2-3 files més.
![Origami modular Conillet alegre](https://i.washerhouse.com/images/7/1054-modulnoe-origami-veslyy-zaychishka.jpg)
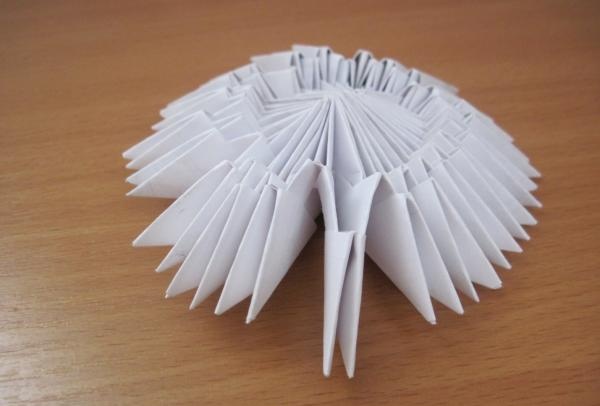
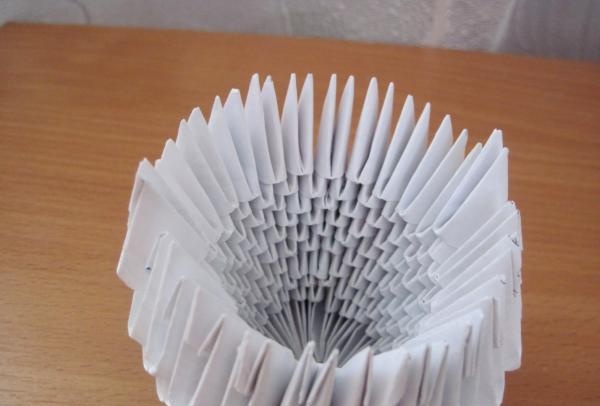
5) Gireu amb cura el nostre cercle perquè prenga la forma d'un bol.
![Origami modular Conillet alegre](https://i.washerhouse.com/images/7/1055-modulnoe-origami-veslyy-zaychishka.jpg)
![Origami modular Conillet alegre](https://i.washerhouse.com/images/7/1056-modulnoe-origami-veslyy-zaychishka.jpg)
![Origami modular Conillet alegre](https://i.washerhouse.com/images/7/1057-modulnoe-origami-veslyy-zaychishka.jpg)
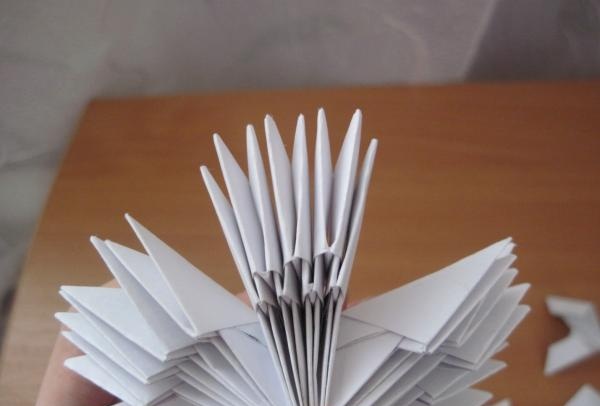
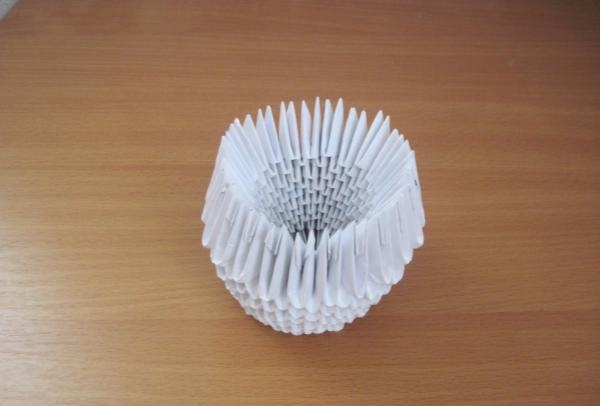
6) Muntem diverses fileres per formar un cos.
![Origami modular Conillet alegre](https://i.washerhouse.com/images/7/1058-modulnoe-origami-veslyy-zaychishka.jpg)
![Origami modular Conillet alegre](https://i.washerhouse.com/images/7/1059-modulnoe-origami-veslyy-zaychishka.jpg)
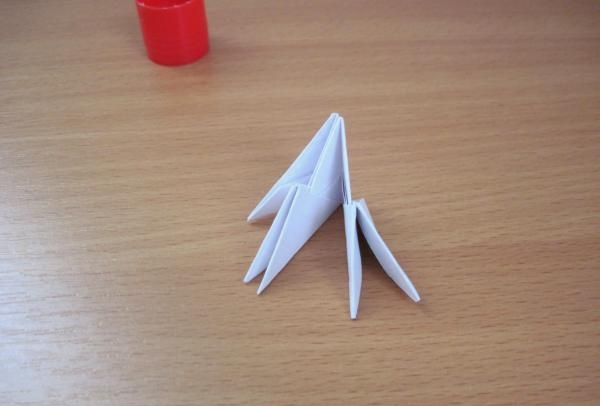
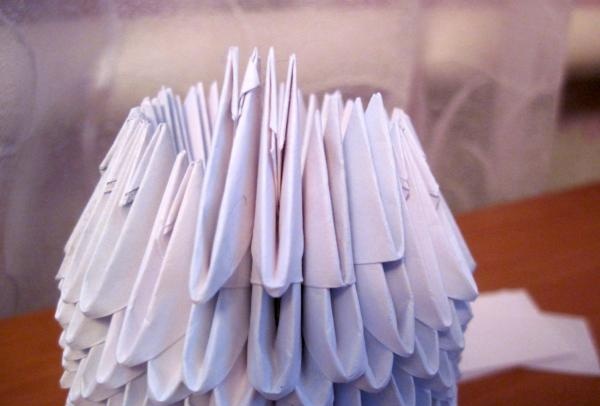
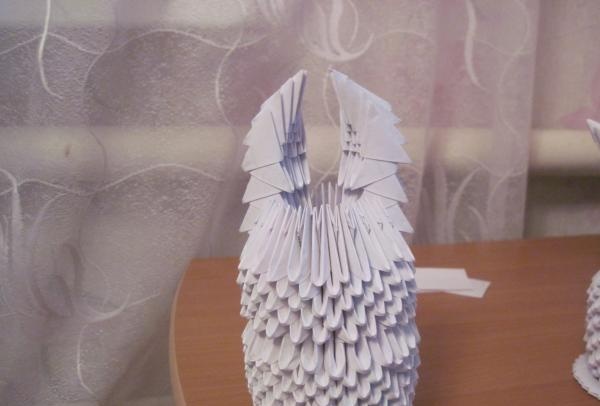
17) Comencem a muntar el cap. Per fer-ho, posem els mòduls dins del nostre cos, tal com es mostra a la figura.
![Origami modular Conillet alegre](https://i.washerhouse.com/images/7/1060-modulnoe-origami-veslyy-zaychishka.jpg)
![Origami modular Conillet alegre](https://i.washerhouse.com/images/7/1061-modulnoe-origami-veslyy-zaychishka.jpg)
Així que fem tota la fila.
![Origami modular Conillet alegre](https://i.washerhouse.com/images/7/1062-modulnoe-origami-veslyy-zaychishka.jpg)
![Origami modular Conillet alegre](https://i.washerhouse.com/images/7/1063-modulnoe-origami-veslyy-zaychishka.jpg)
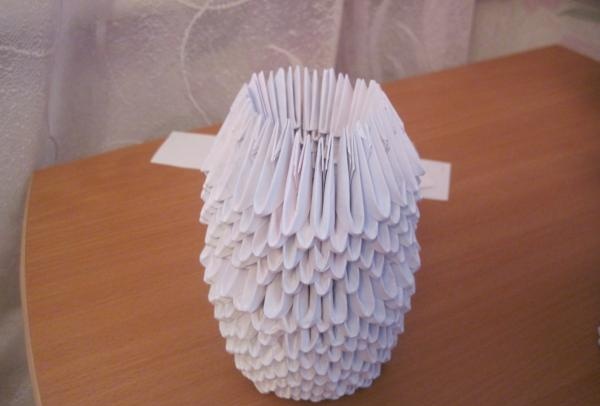
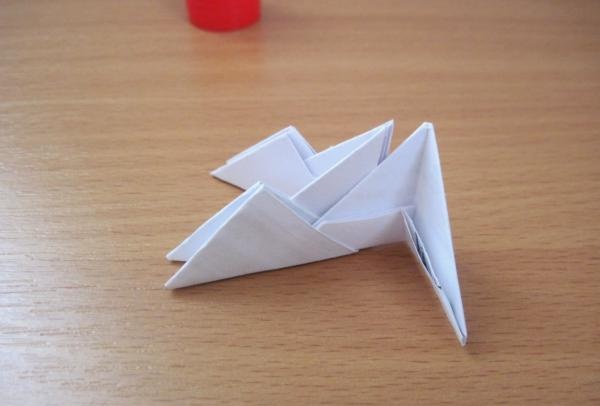
8) Disposem les files restants de la manera habitual (n hauria d'haver unes 4-5 més)
![Origami modular Conillet alegre](https://i.washerhouse.com/images/7/1064-modulnoe-origami-veslyy-zaychishka.jpg)
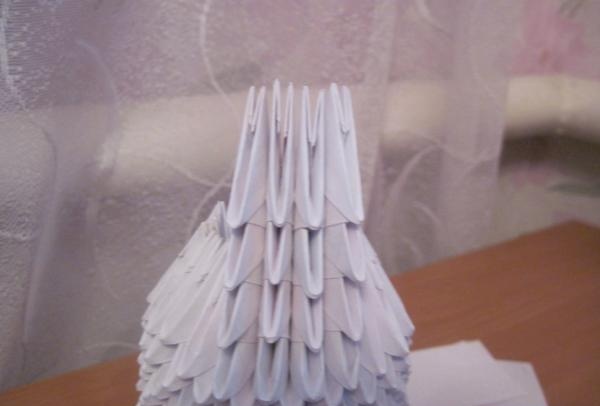
9) Ara cal estrènyer una mica el cap perquè agafi la forma d'un oval.
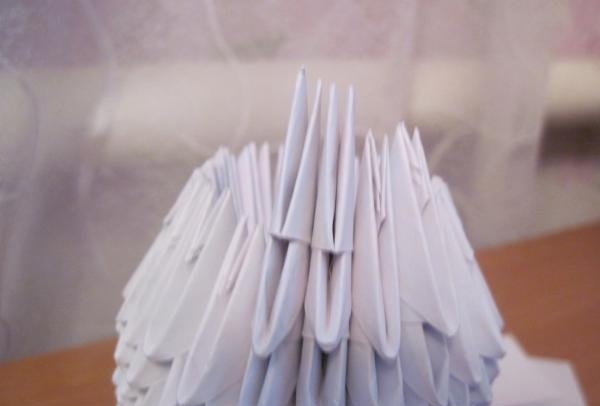
10) Comencem a recollir les orelles. No haurien d'estar molt lluny l'un de l'altre. Escollim un nombre desigual de mòduls i fem com es mostra a les imatges, a partir de la 5a fila, comencem a disminuir
![Origami modular Conillet alegre](https://i.washerhouse.com/images/7/1065-modulnoe-origami-veslyy-zaychishka.jpg)
![Origami modular Conillet alegre](https://i.washerhouse.com/images/7/1066-modulnoe-origami-veslyy-zaychishka.jpg)
![Origami modular Conillet alegre](https://i.washerhouse.com/images/7/1067-modulnoe-origami-veslyy-zaychishka.jpg)
![Origami modular Conillet alegre](https://i.washerhouse.com/images/7/1068-modulnoe-origami-veslyy-zaychishka.jpg)
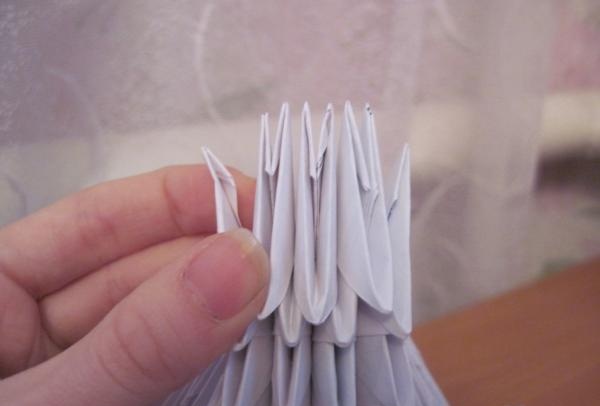
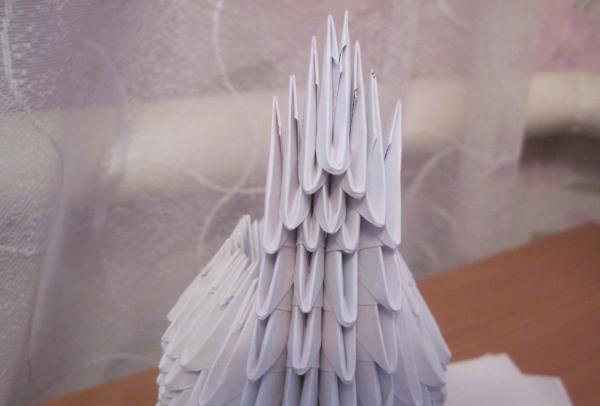
11) Feu el mateix amb la segona orella.
![Origami modular Conillet alegre](https://i.washerhouse.com/images/7/1069-modulnoe-origami-veslyy-zaychishka.jpg)
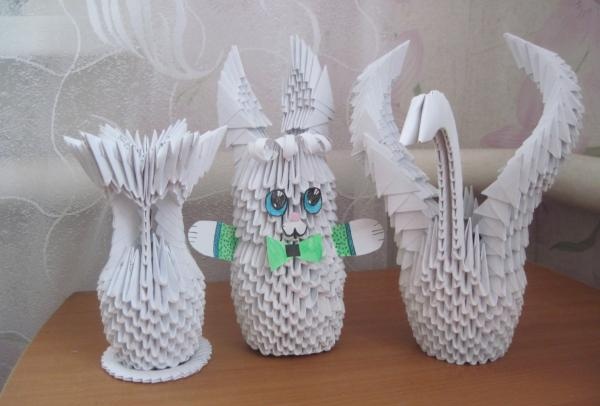
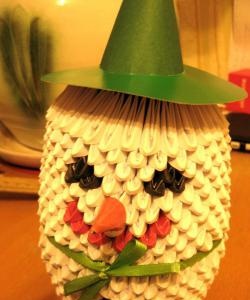
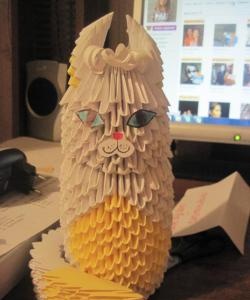
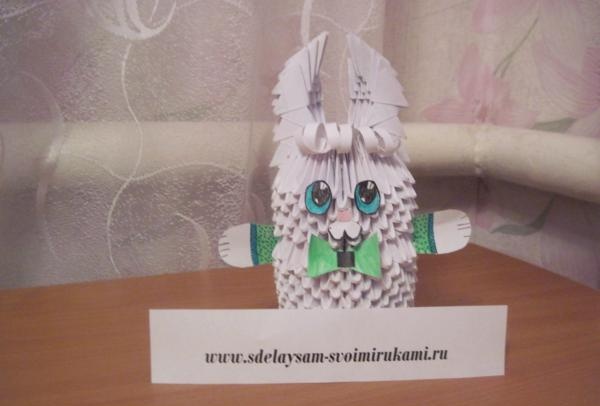
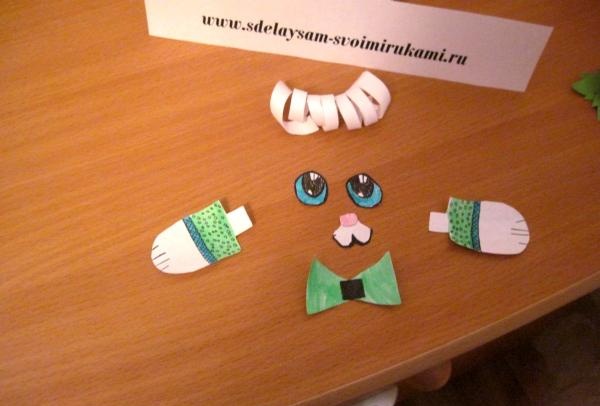
12) Vaig dibuixar els ulls, les potes, l'arc i el morrió, els vaig retallar de paper i els vaig enganxar.
![Origami modular Conillet alegre](https://i.washerhouse.com/images/7/1070-modulnoe-origami-veslyy-zaychishka.jpg)
13) Com a resultat, vaig obtenir aquest conillet divertit. Estic segur que pot ser un gran regal o simplement decorar una habitació.
![Origami modular Conillet alegre](https://i.washerhouse.com/images/7/1071-modulnoe-origami-veslyy-zaychishka.jpg)